OpenClaw Setup Guide
Complete beginner's guide to using CherryIN API with OpenClaw
CherryIN now supports Kimi K2.5! OpenClaw (formerly ClawdBot) has been trending worldwide with over 120K stars!

This tutorial will guide you step-by-step to configure OpenClaw + CherryIN and build your own AI Agent!
Before You Start
What is OpenClaw?
OpenClaw is an open-source AI Agent framework that allows AI models to control your computer for various tasks—writing code, managing files, executing commands, and more.
Why Use a Virtual Machine?
Since OpenClaw can directly control your computer, it's safer to use it in a virtual machine. If anything goes wrong, your main system stays safe.
Checklist
- ⬜ A computer (Windows / macOS / Linux)
- ⬜ Stable network connection
- ⬜ About 20 minutes
- ⬜ (Recommended) A virtual machine environment
Step 1: Install OpenClaw
While the demo uses Linux, the process is cross-platform!
Windows Users
Windows users have two installation options. WSL is recommended:
📦 Option 1: WSL (Recommended)
WSL (Windows Subsystem for Linux) lets you run a Linux environment on Windows for a smoother experience.
1. Install WSL
Open PowerShell as Administrator and run:
wsl --installRestart your computer after installation.
2. Set Up Linux User
After restart, Ubuntu terminal will open automatically. Follow the prompts to set your username and password.
3. Continue
Once set up, follow the Linux steps below in your WSL terminal.
🪟 Option 2: Native Windows Installation
If you prefer not to use WSL, you can install directly on Windows.
1. Install Node.js
Visit Node.js website, download the LTS version (22 or above recommended), and run the installer.
2. Verify Installation
Open PowerShell or CMD and run:
node -v
npm -v
You should see version numbers.
3. Install OpenClaw
npm install -g openclaw@latest1.1 Install Node.js (via nvm)
For macOS / Linux users, we recommend using nvm to install Node.js:
# Download and install nvm
curl -o- https://raw.githubusercontent.com/nvm-sh/nvm/v0.40.3/install.sh | bash

# Load nvm (avoid restarting terminal)
\. "$HOME/.nvm/nvm.sh"

# Install Node.js 24 (version 22+ recommended)
nvm install 24

# Verify installation
node -v  # Should show v24.x.x
npm -v   # Should show 11.x.x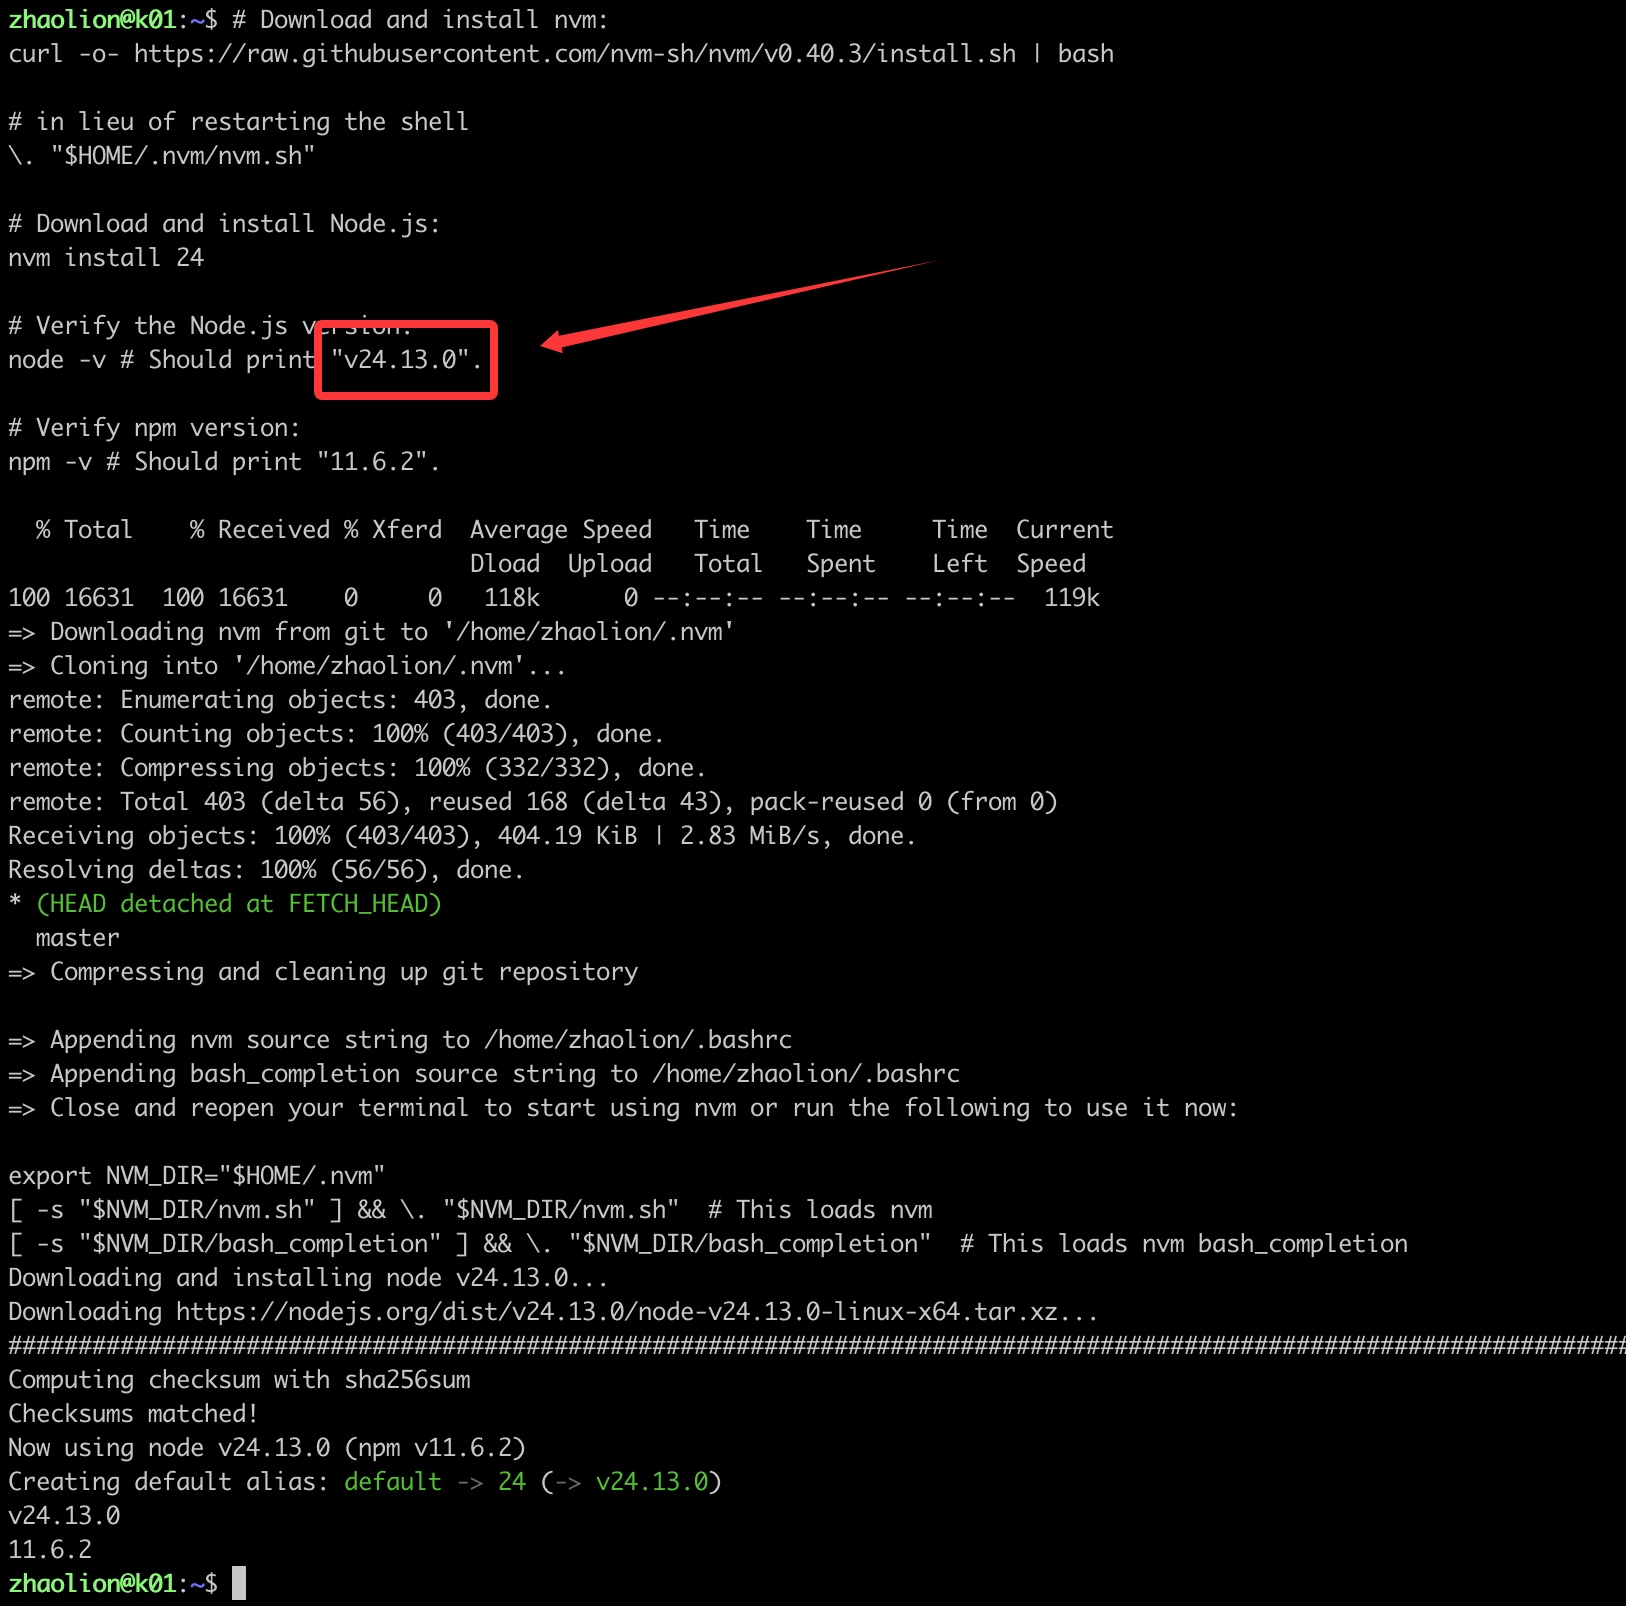
1.2 Install OpenClaw
With Node.js ready, install OpenClaw with one command:
npm install -g openclaw@latest
# Or with pnpm: pnpm add -g openclaw@latest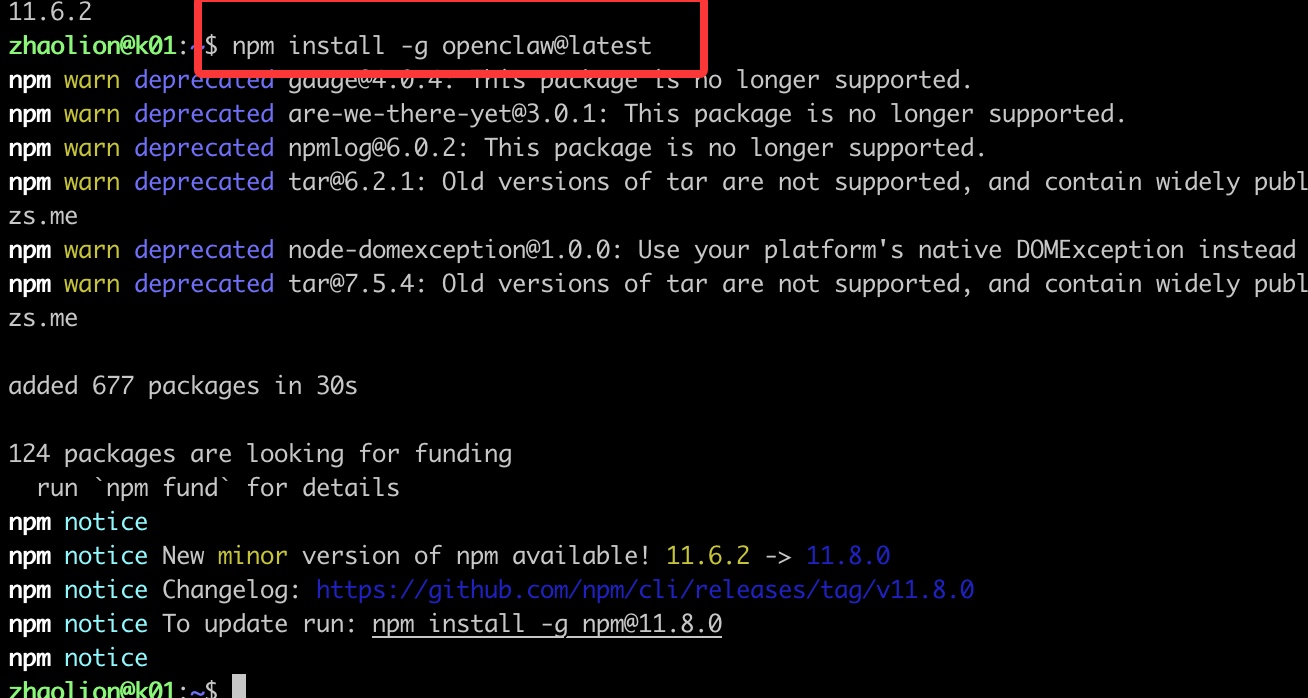
✅ Success Check
Run these commands—if you see version numbers, installation is complete:
node -v
openclaw --version
Step 2: Initialize OpenClaw
Run the initialization command:
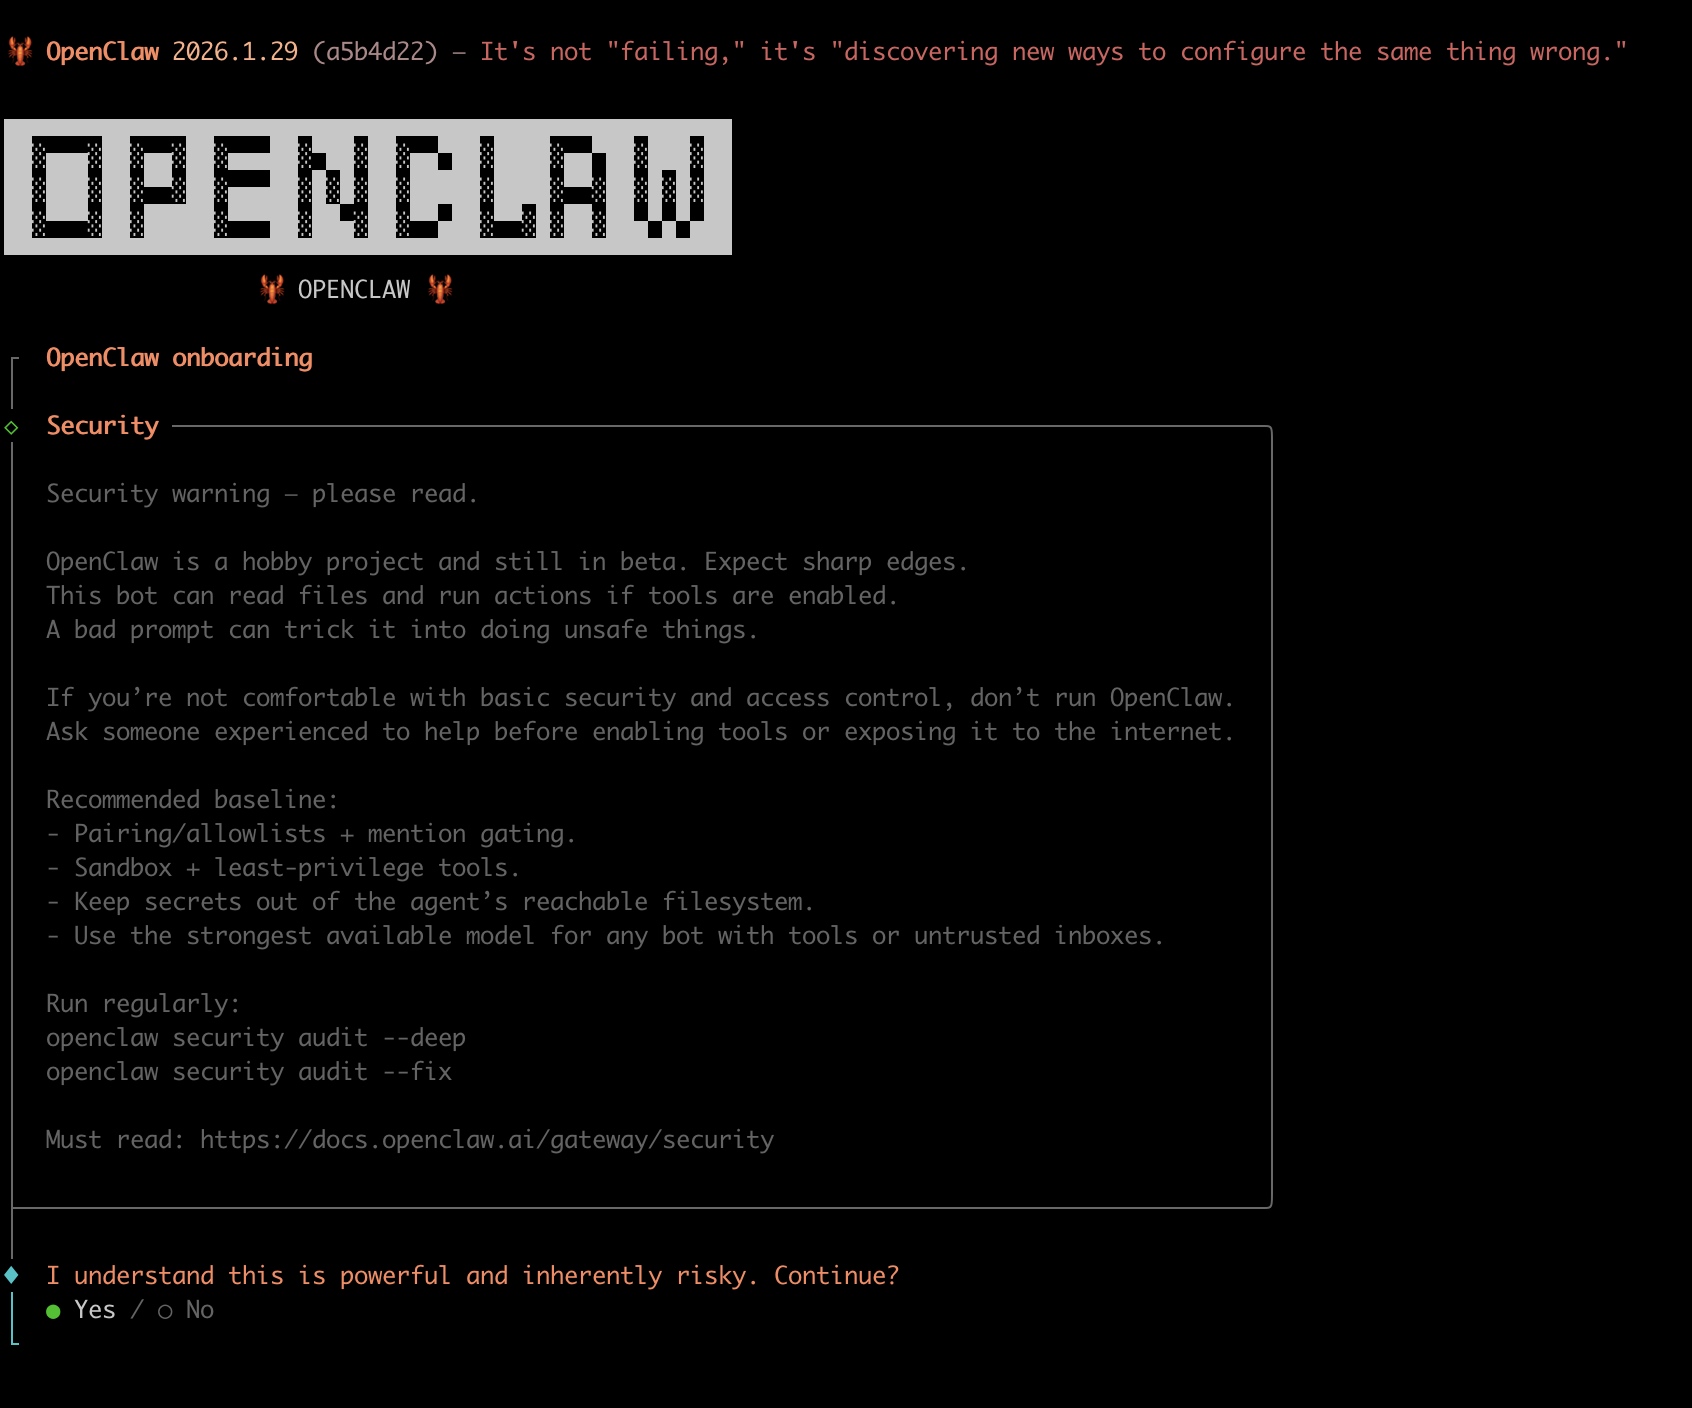
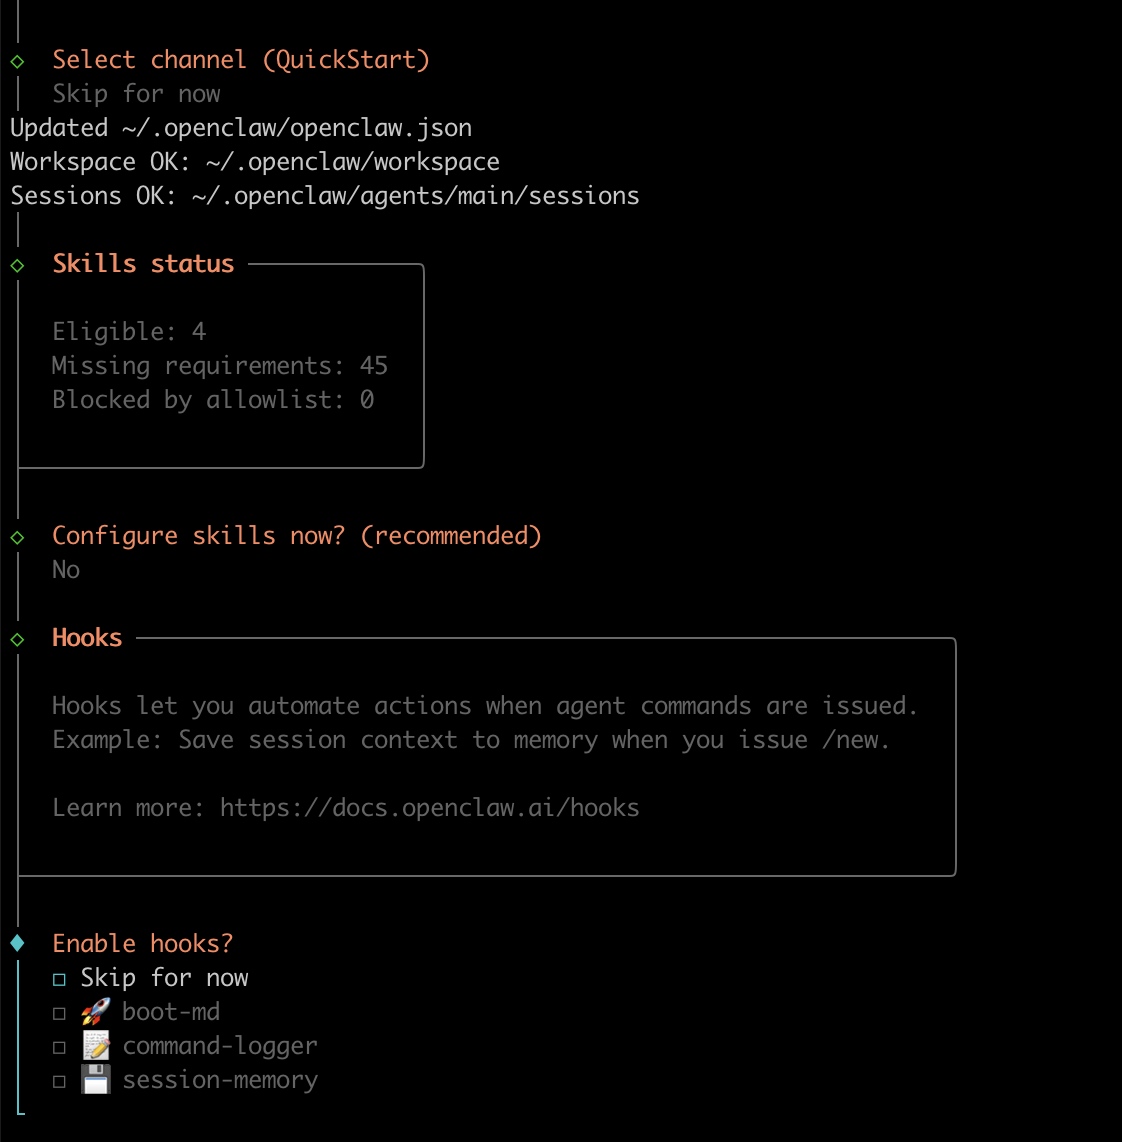
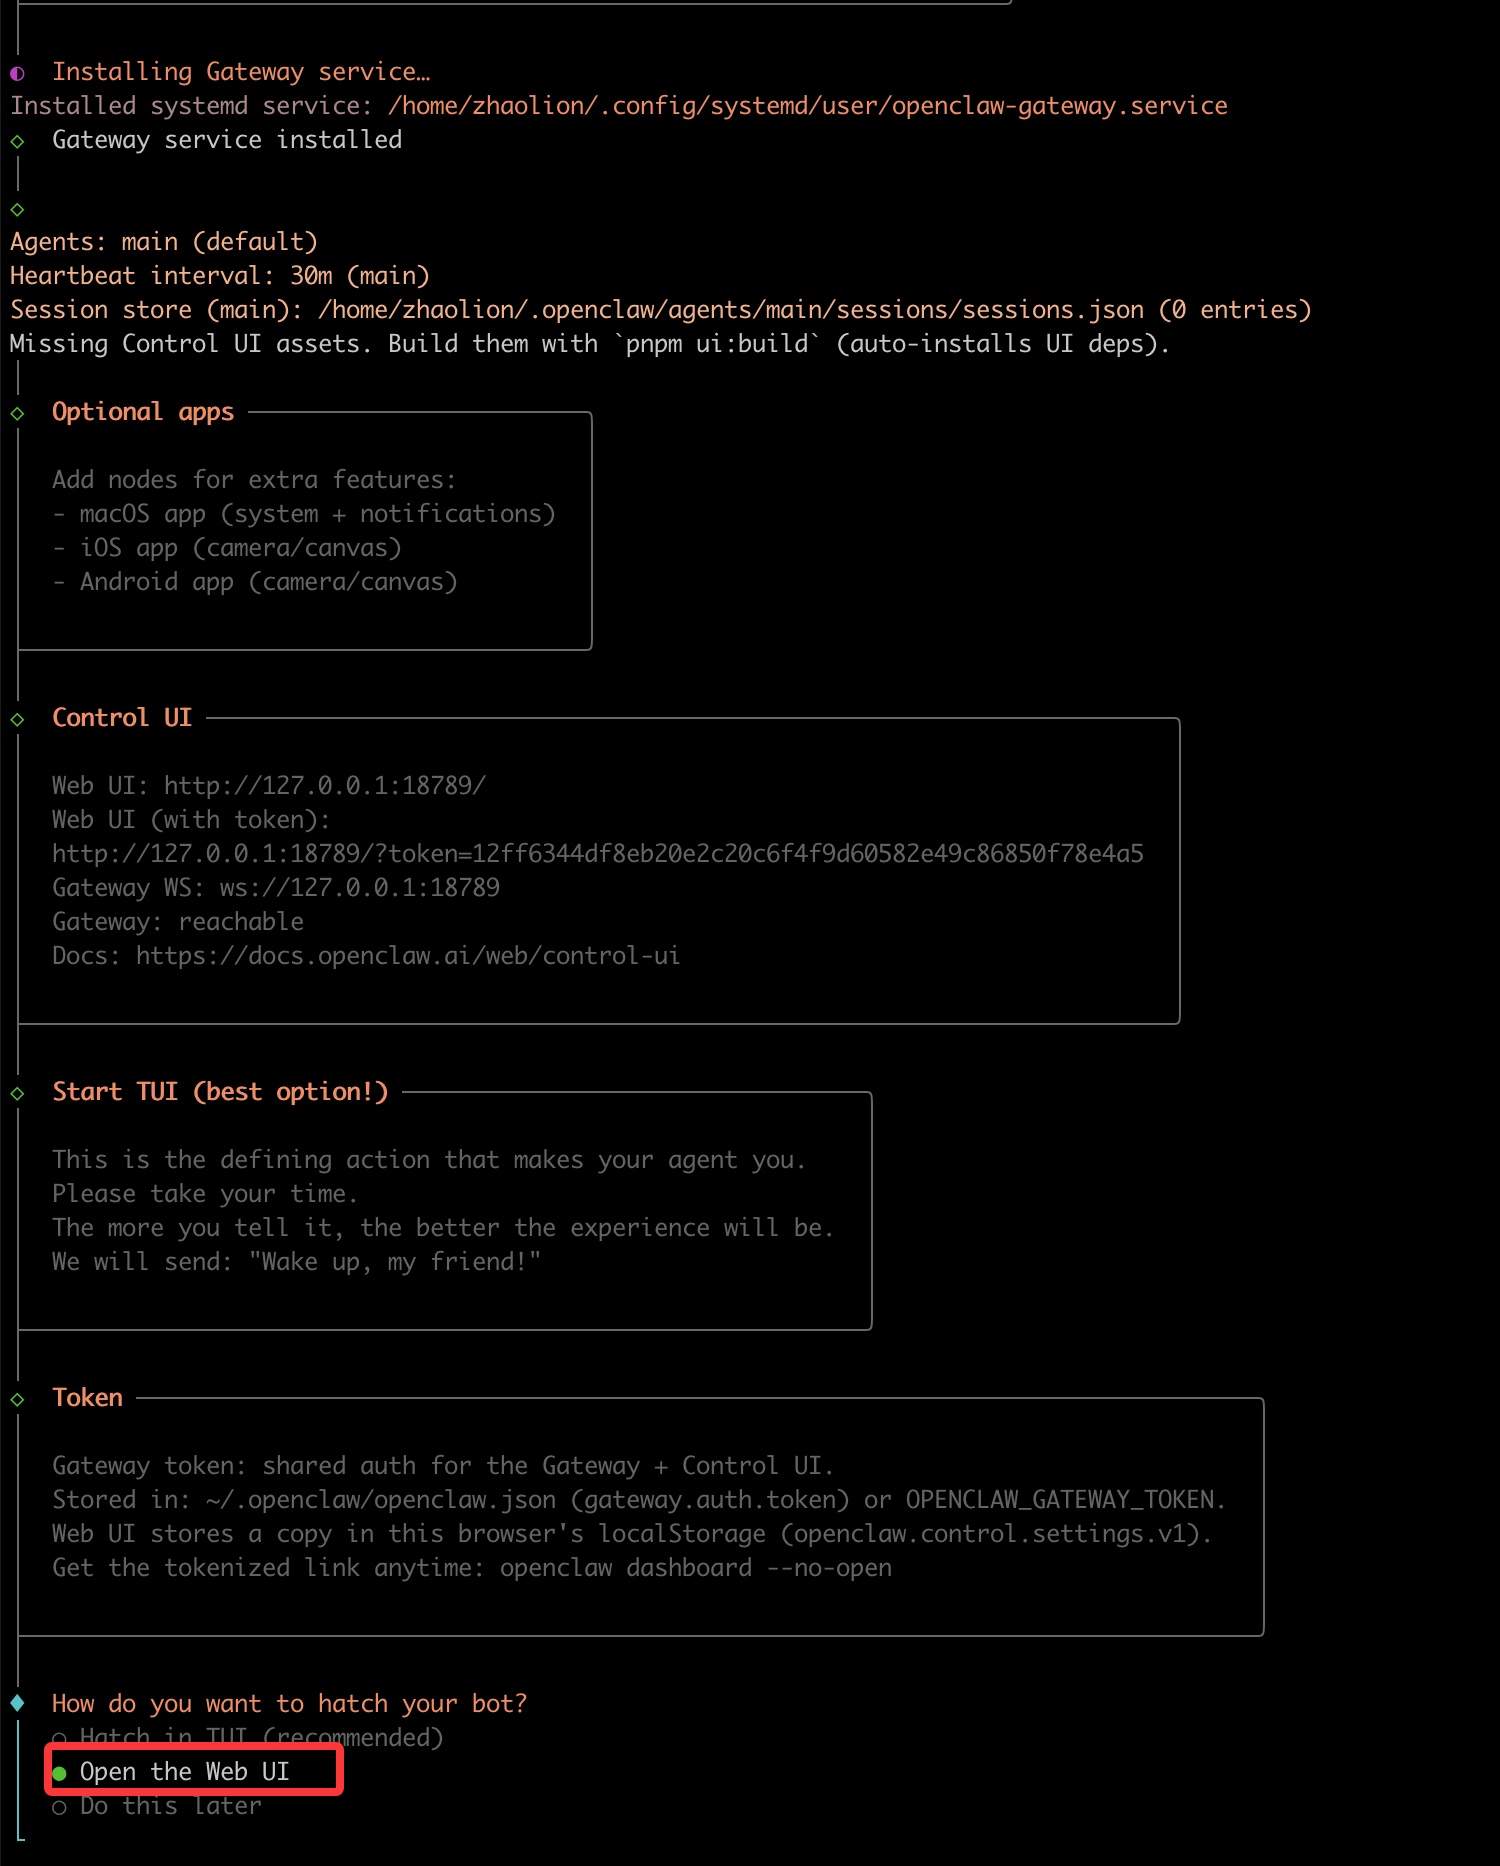
openclaw onboard --install-daemonThe OpenClaw configuration page will open automatically. If not, run openclaw onboard manually.
Accept Security Notice
Since OpenClaw can control your computer, there's a security notice. Accept it to continue.
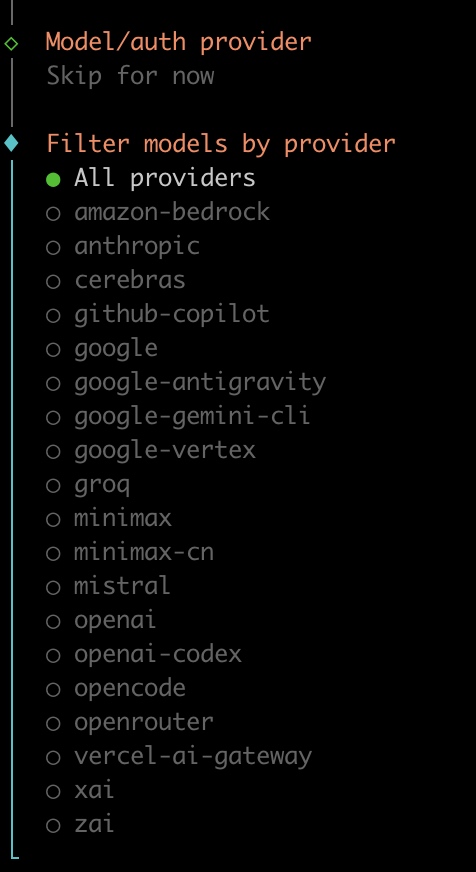
Skip Provider Setup
Skip the Provider setup for now. We'll configure CherryIN through the config file later.
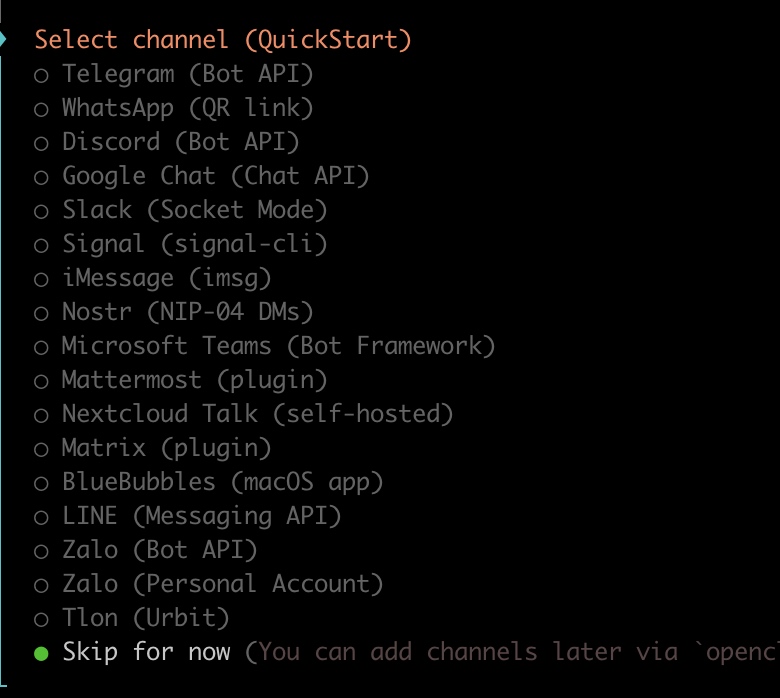
Skip Notification Settings
These IM notifications require additional setup. Skip them for now—we'll get the basics running first.
✅ Success Check
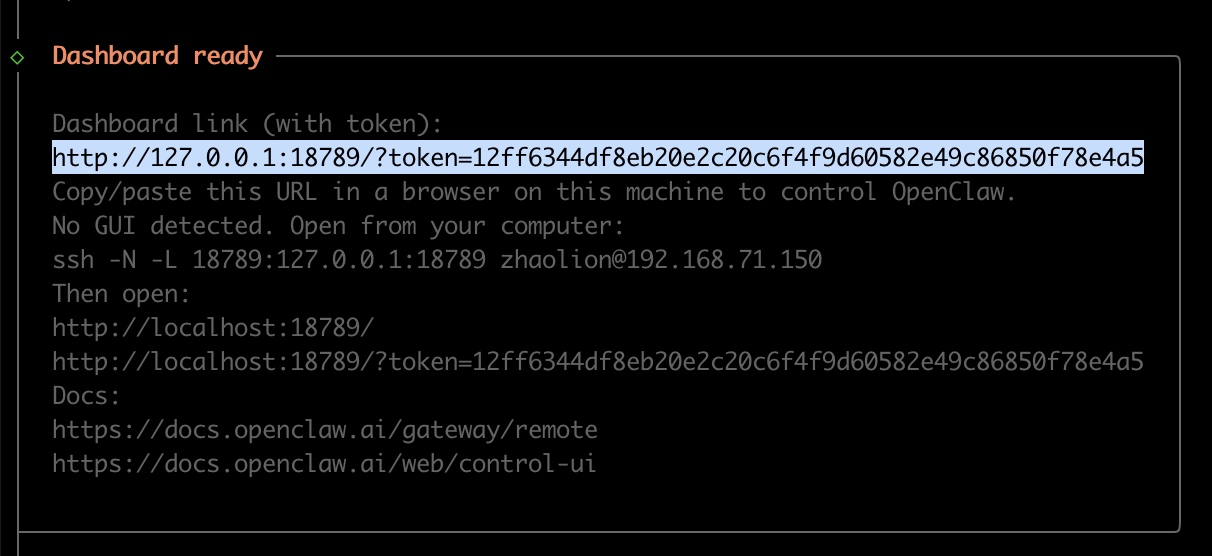
When you see the console output with the access URL, initialization is complete:
Step 3: Register for CherryIN and Get API Key
3.1 Create Account
Visit CherryIN: https://open.cherryin.ai/
Email Login Recommended
We strongly recommend using email login for better stability. GitHub login may occasionally have issues.
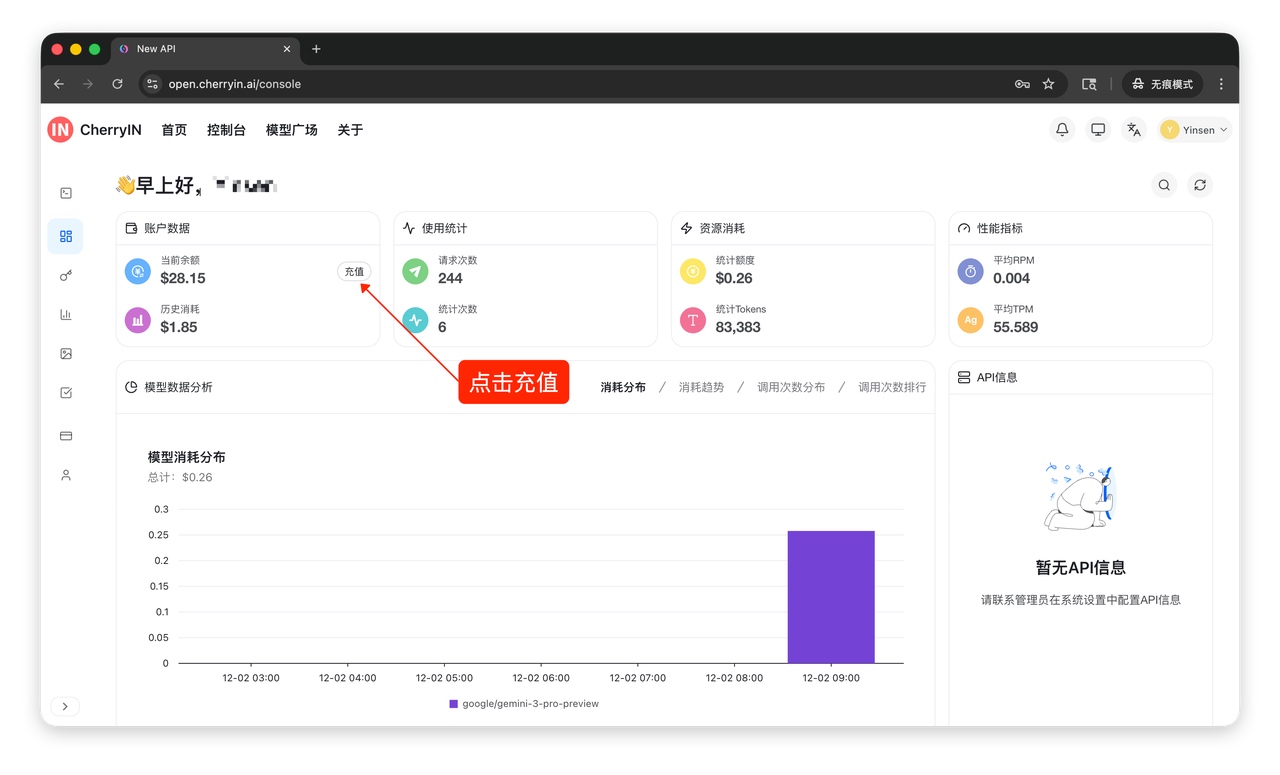
3.2 Add Credits
After adding credits, you can access all models including free DeepSeek v3.2 and the latest models.
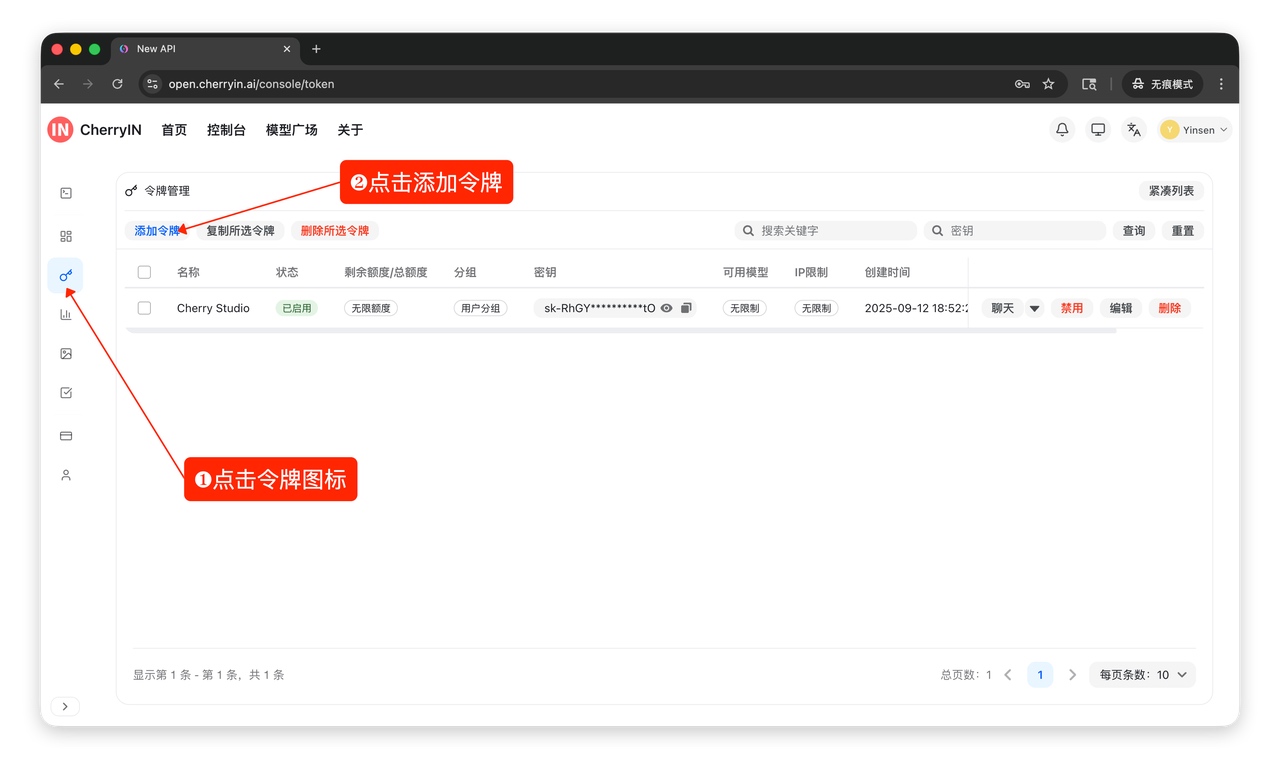
3.3 Create Token
Go to "Token Management" and create a new token. Name it something like Openclaw-Agent for easy identification.
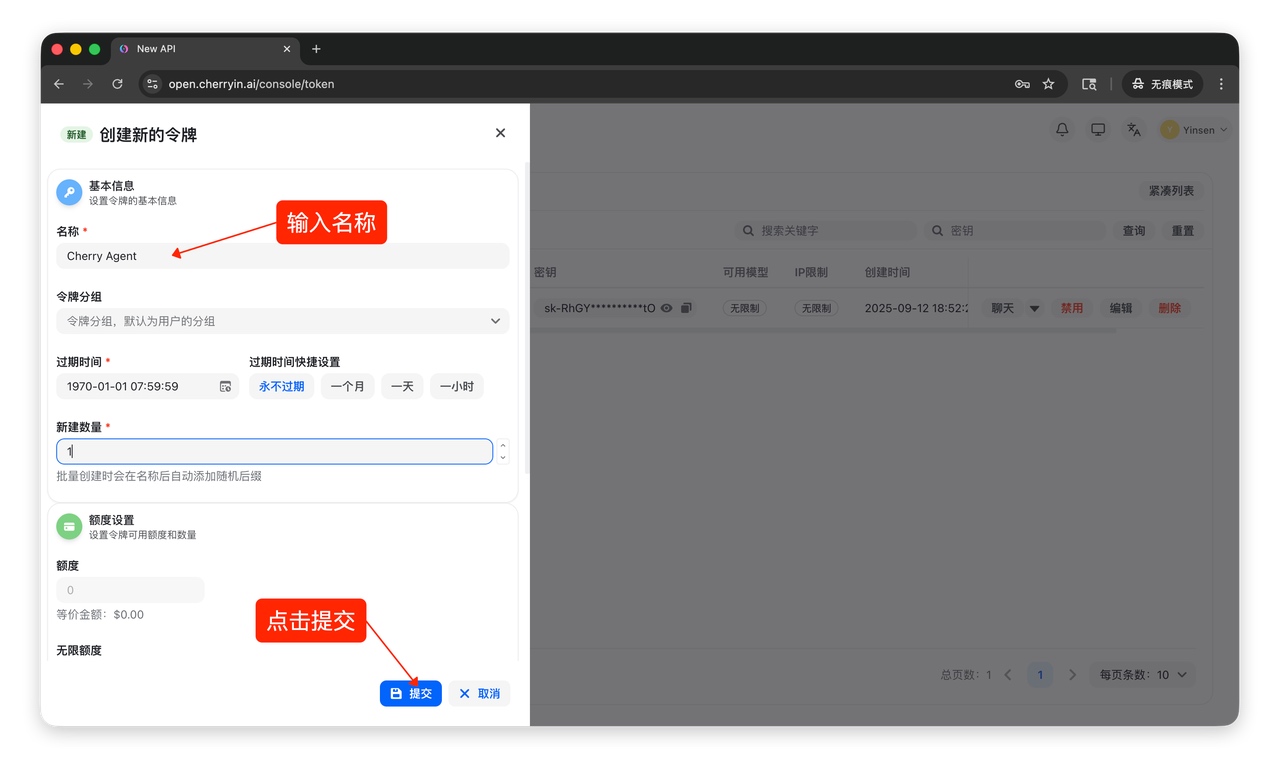
Copy and save your token—you'll need it for configuration.
✅ Success Check
You now have a token starting with sk-, like sk-xxxxxxxxxxxxxxxx.
Step 4: Configure Model Access
4.1 Locate Config File
OpenClaw config file path:
~/.openclaw/openclaw.jsonNote
~ refers to your home directory. On Linux it's /home/your-username, on macOS it's /Users/your-username.
4.2 Add CherryIN Configuration
Open the config file with your preferred editor and add the following. Replace sk-xxxxx with your actual token:
{
"models": {
"mode": "merge",
"providers": {
"cherryin": {
"baseUrl": "https://open.cherryin.cc/v1",
"apiKey": "sk-xxxxx",
"auth": "api-key",
"api": "openai-completions",
"headers": {},
"models": [
{
"id": "agent/kimi-k2.5",
"name": "Kimi K2.5",
"api": "openai-completions"
},
{
"id": "anthropic/claude-opus-4.5",
"name": "Claude Opus 4.5",
"api": "openai-completions"
},
{
"id": "anthropic/claude-sonnet-4.5",
"name": "Claude Sonnet 4.5",
"api": "openai-completions"
}
]
}
}
},
"agents": {
"defaults": {
"model": {
"primary": "cherryin/agent/kimi-k2.5"
},
"models": {
"cherryin/agent/kimi-k2.5": {},
"cherryin/anthropic/claude-opus-4.5": {},
"cherryin/anthropic/claude-sonnet-4.5": {}
},
"compaction": {
"mode": "safeguard"
},
"maxConcurrent": 4,
"subagents": {
"maxConcurrent": 8
}
}
}
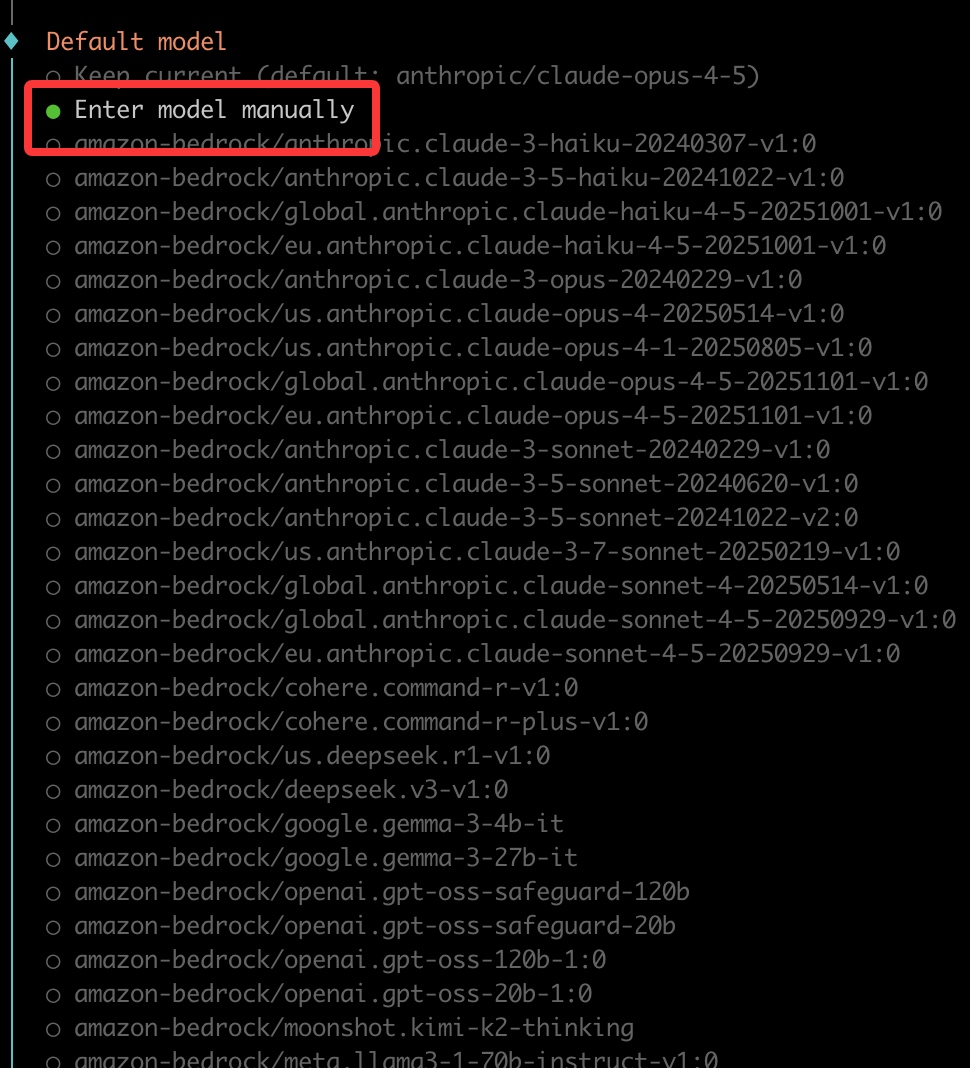
}Find Model IDs
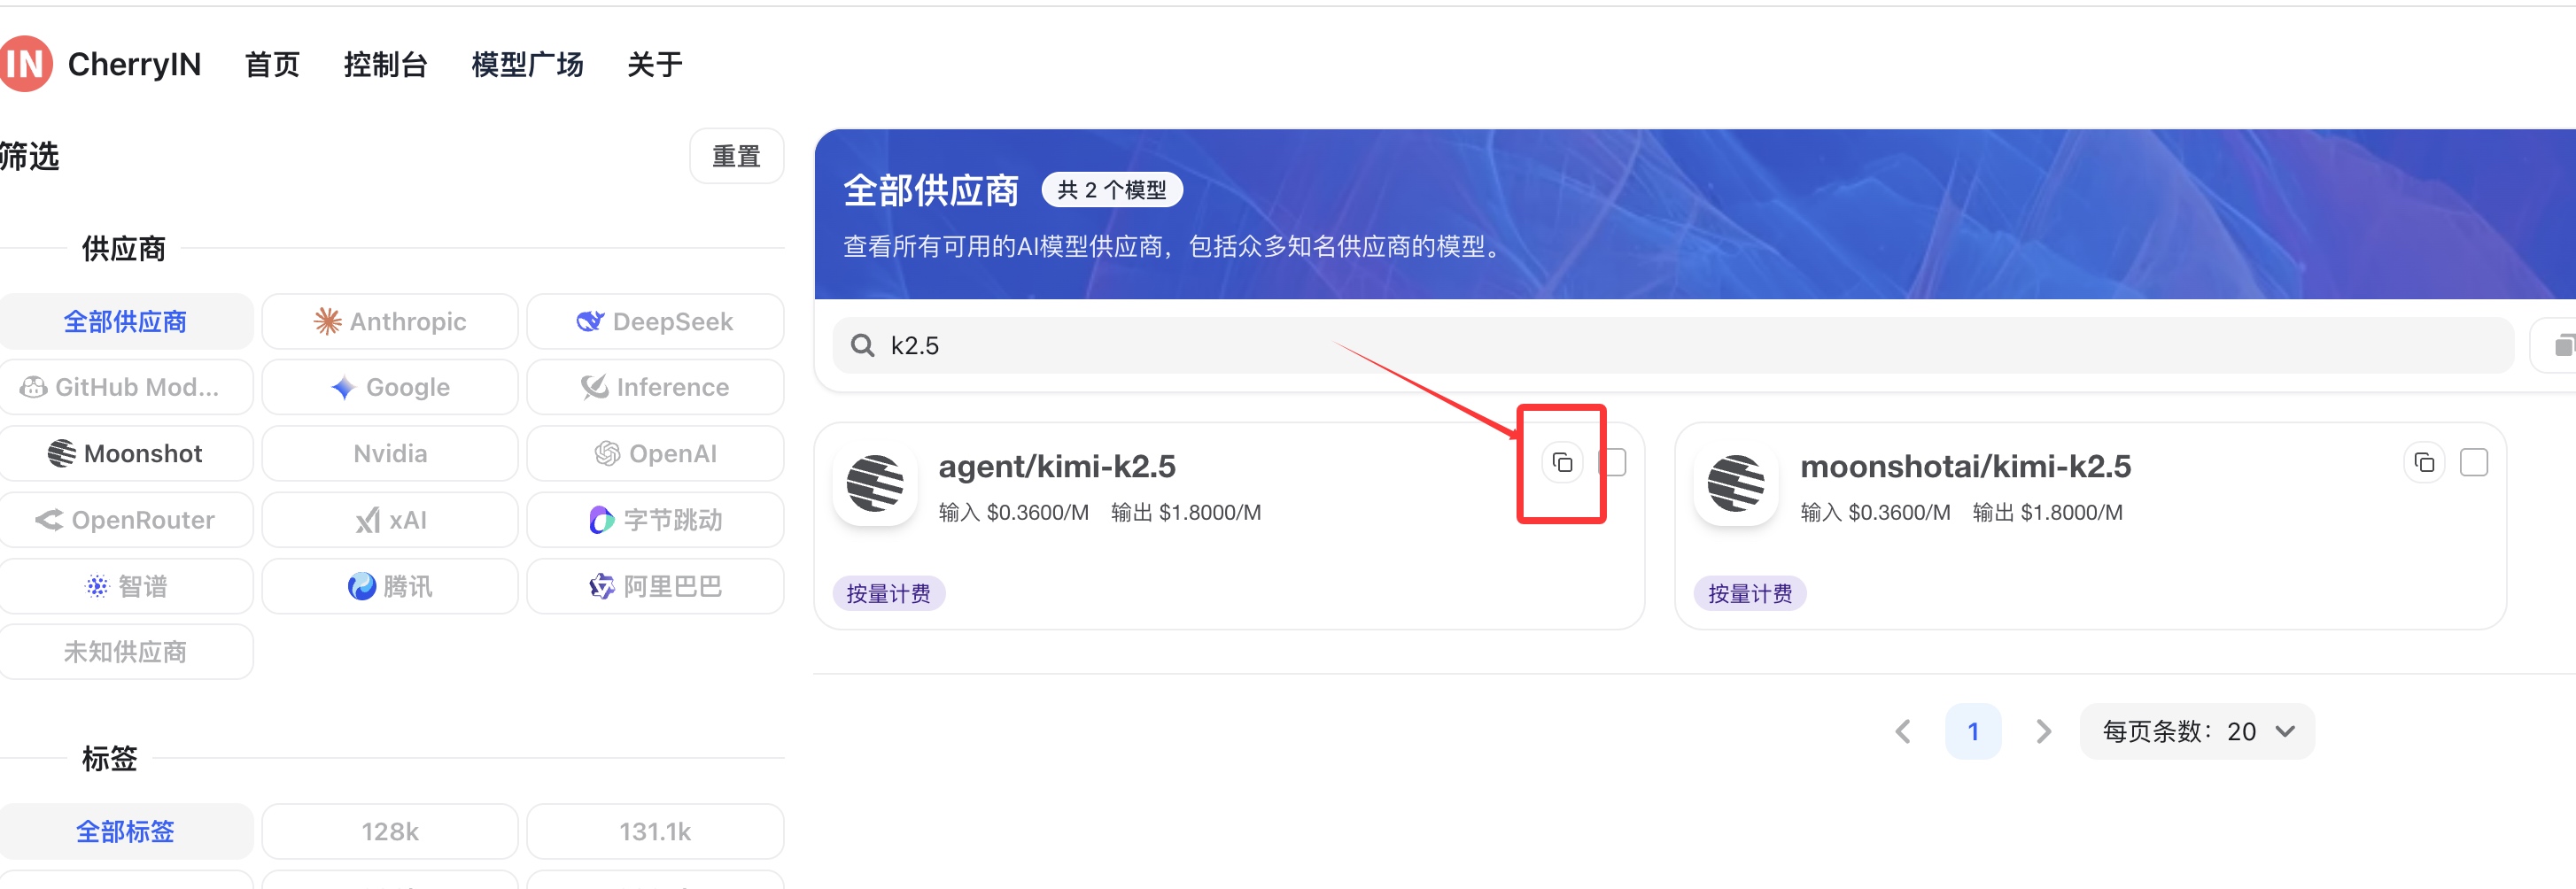
Visit CherryIN Pricing Page to see all available model IDs.
✅ Success Check
File saves without errors and JSON format is valid.
Step 5: Start Using OpenClaw
No need to restart the service after configuration. Just use the WebUI chat.
5.1 Create New Chat
/new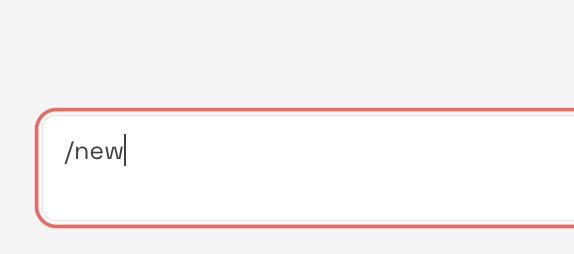
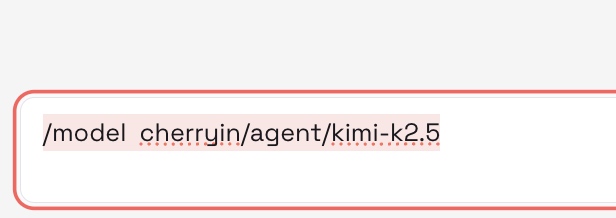
5.2 Switch Model
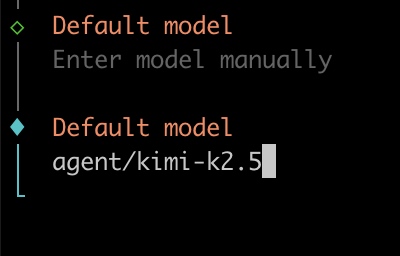
/model cherryin/agent/kimi-k2.5Model Path Format
OpenClaw uses the format Provider/ModelID. Our provider ID is cherryin, model ID is agent/kimi-k2.5, so the full path is cherryin/agent/kimi-k2.5.
5.3 Test with a Message
Send any message, like "Hello, introduce yourself."
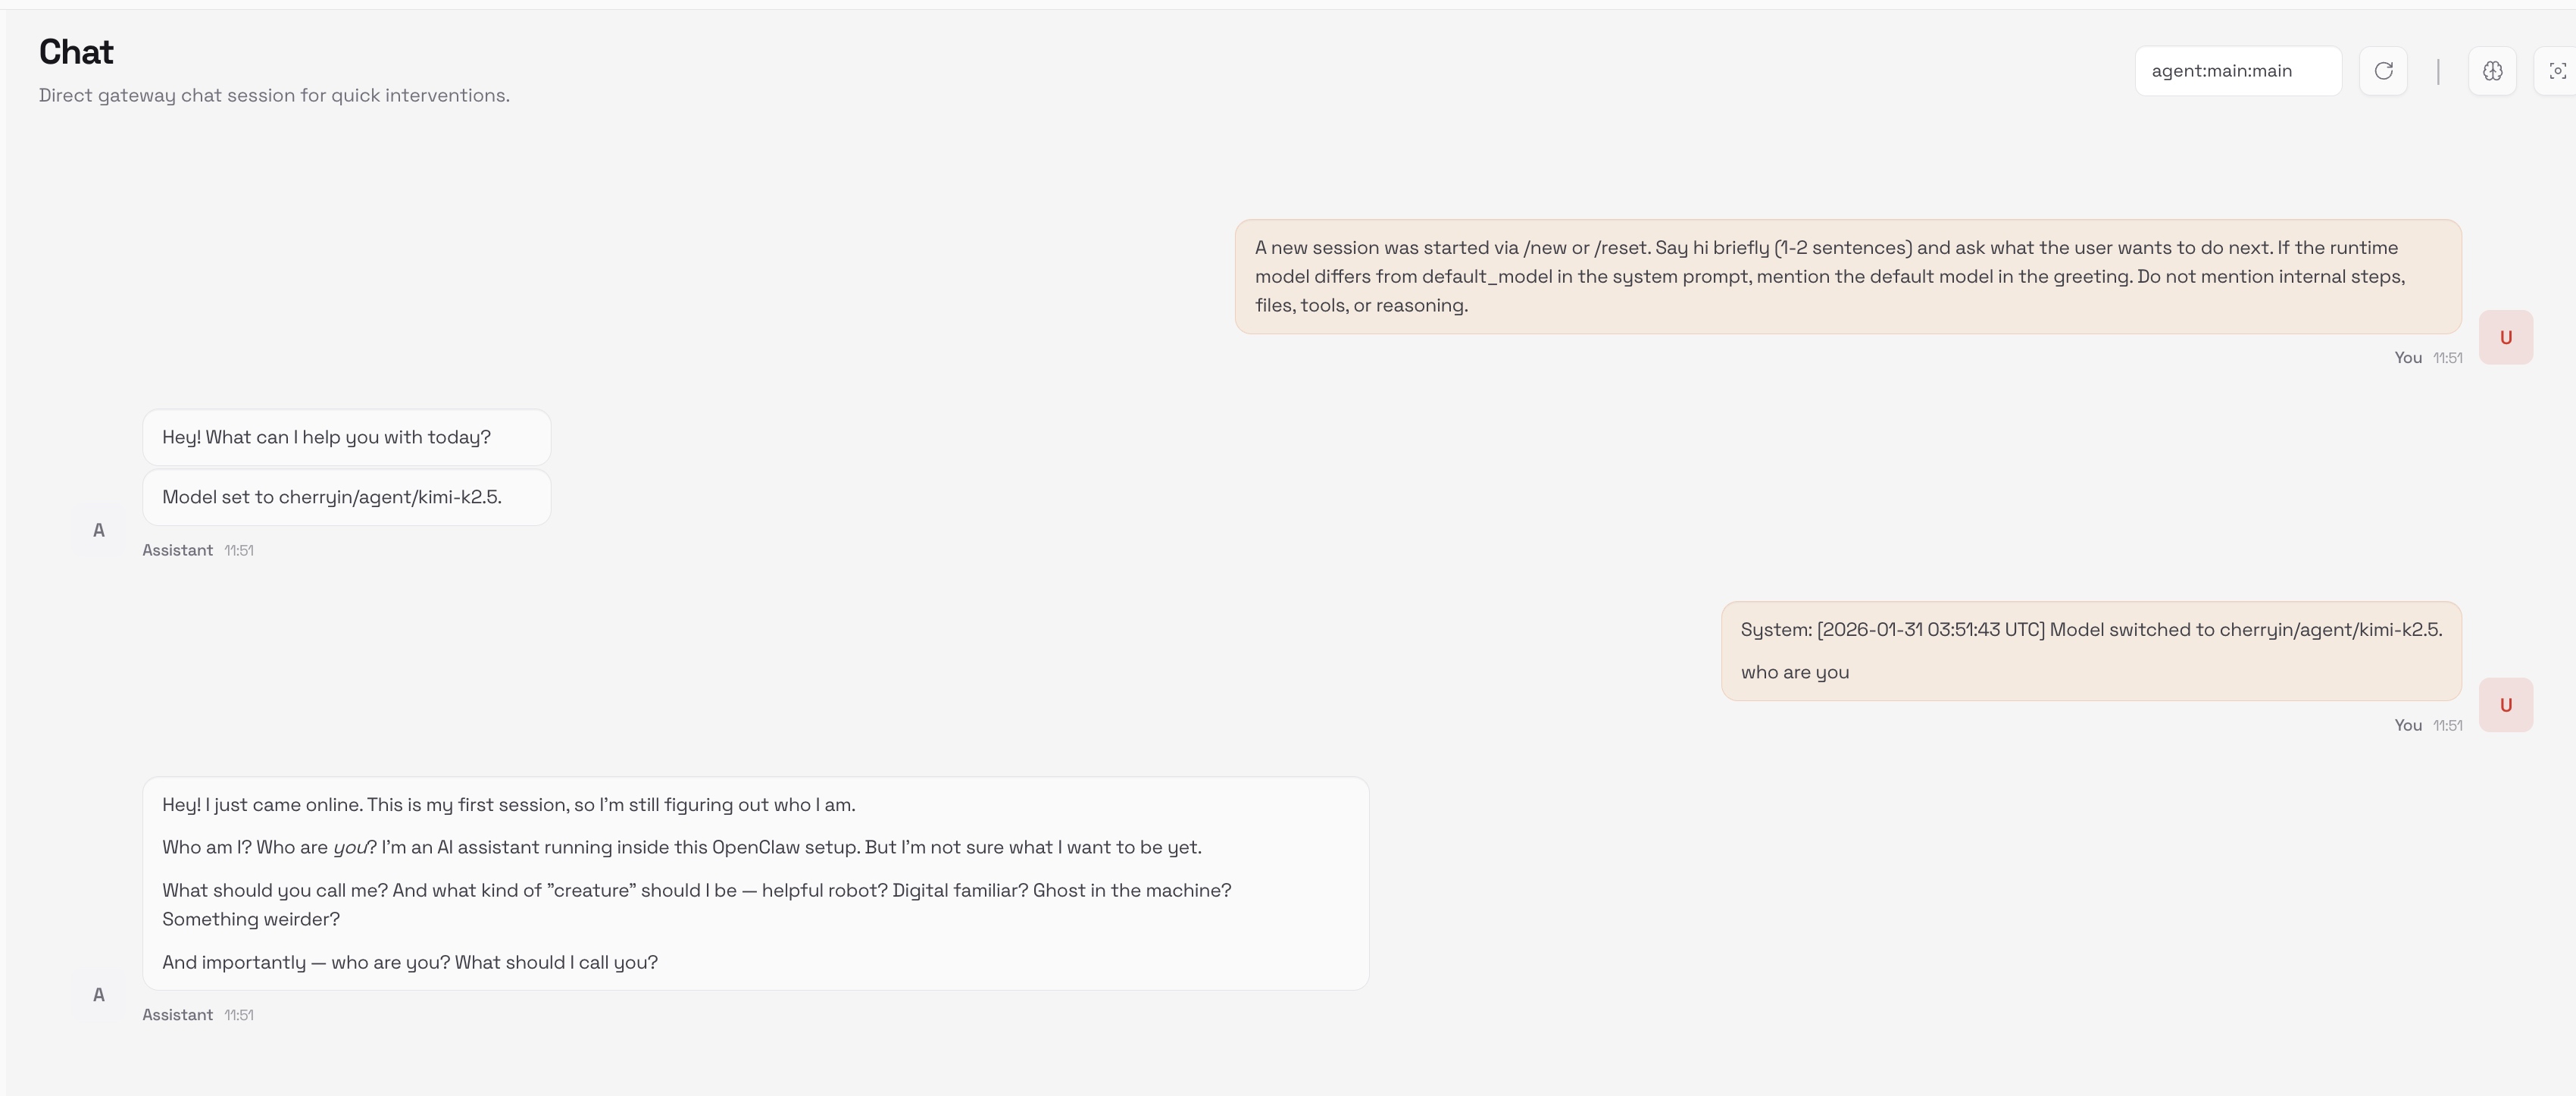
✅ Success Check
AI responds to your message normally.
🎉 Congratulations!
You've successfully configured OpenClaw + CherryIN and can now start using your AI Agent!
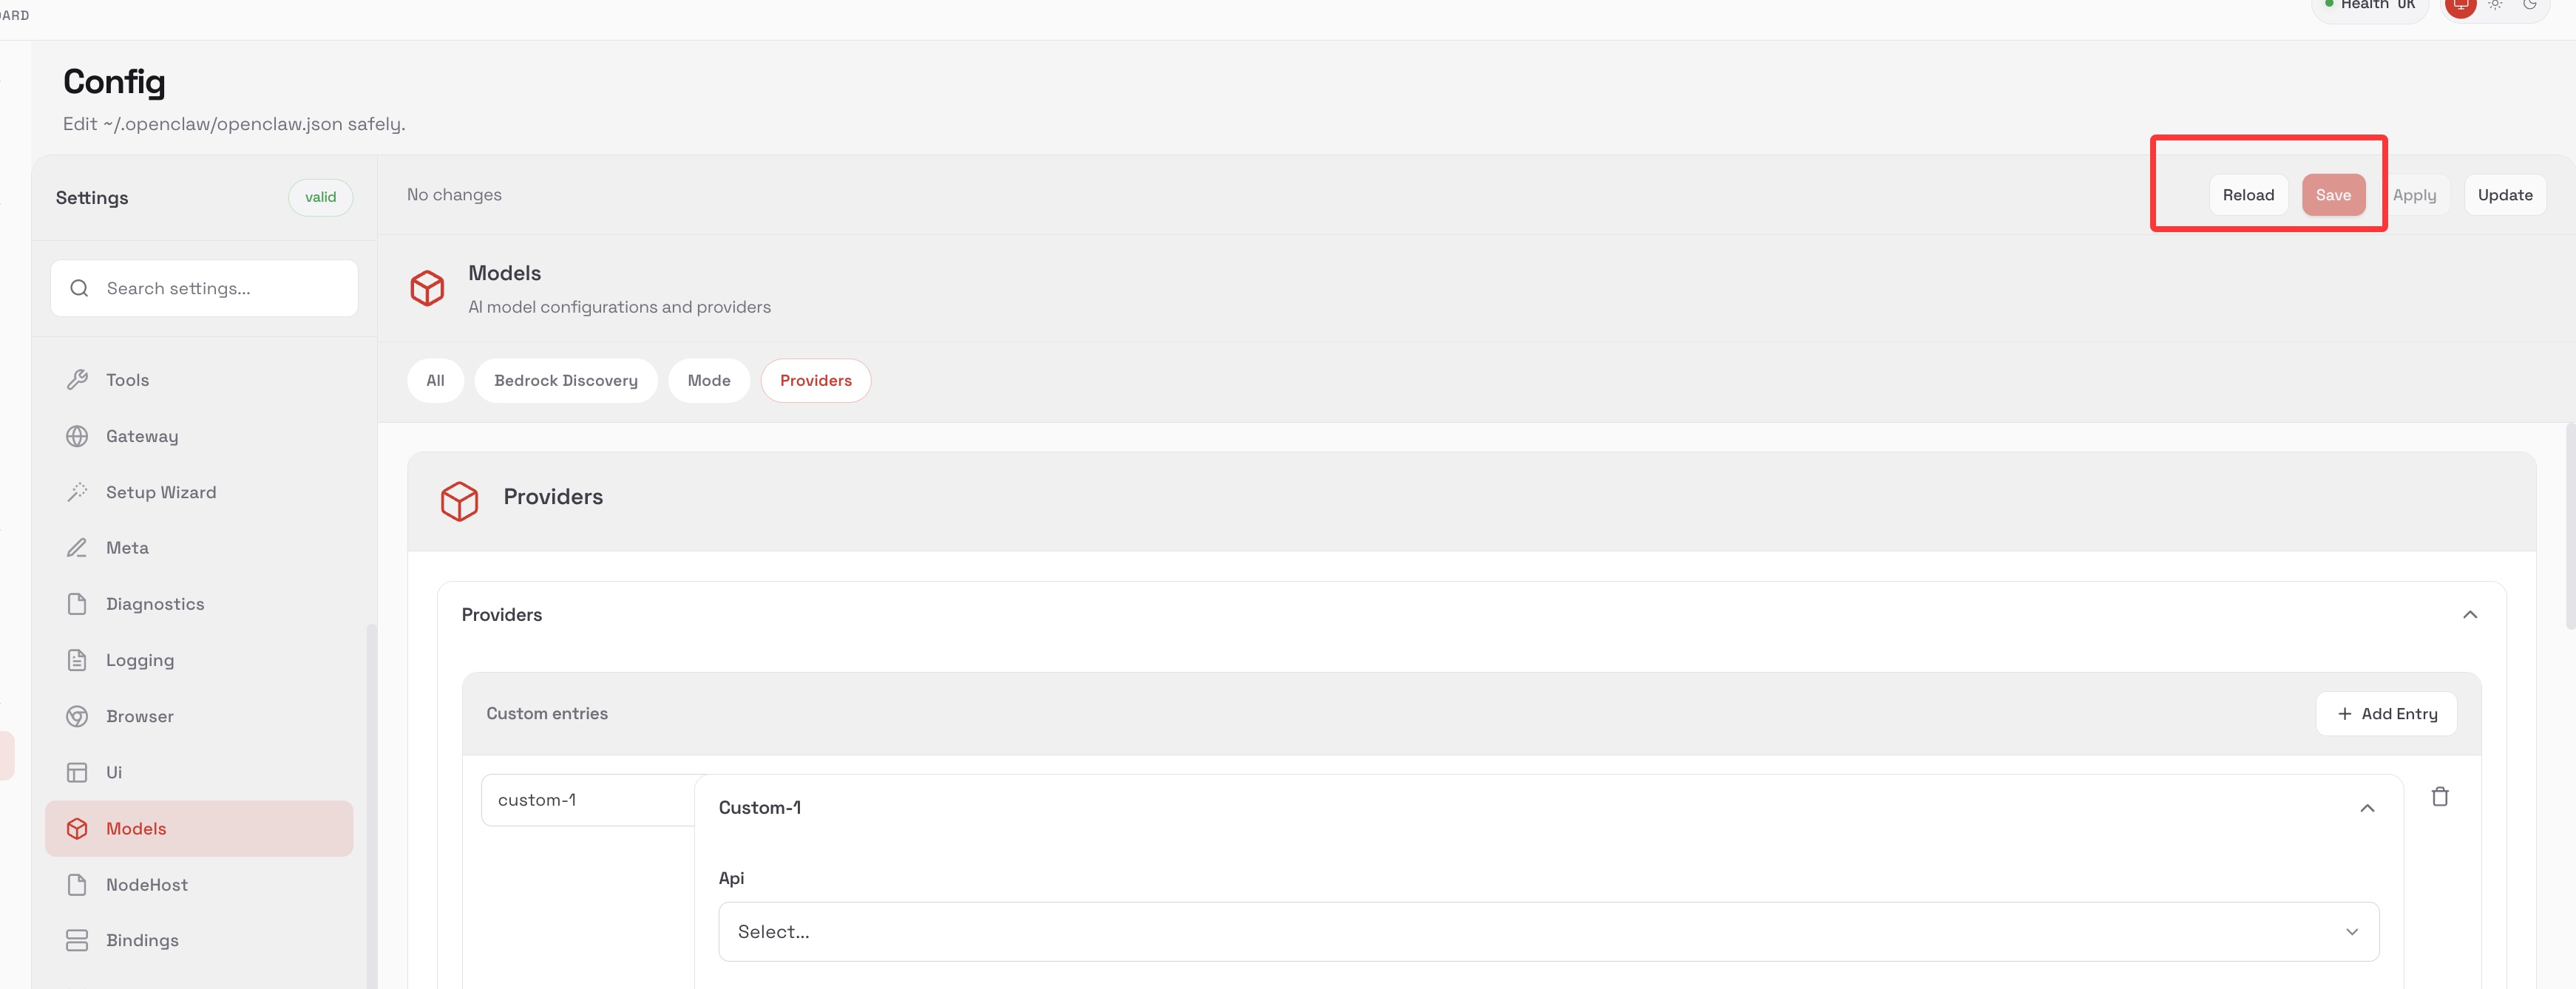
Appendix: WebUI Configuration (Optional)
👆 Click to expand - For users who prefer not to edit config files
If you're not comfortable editing config files directly, you can configure through WebUI.
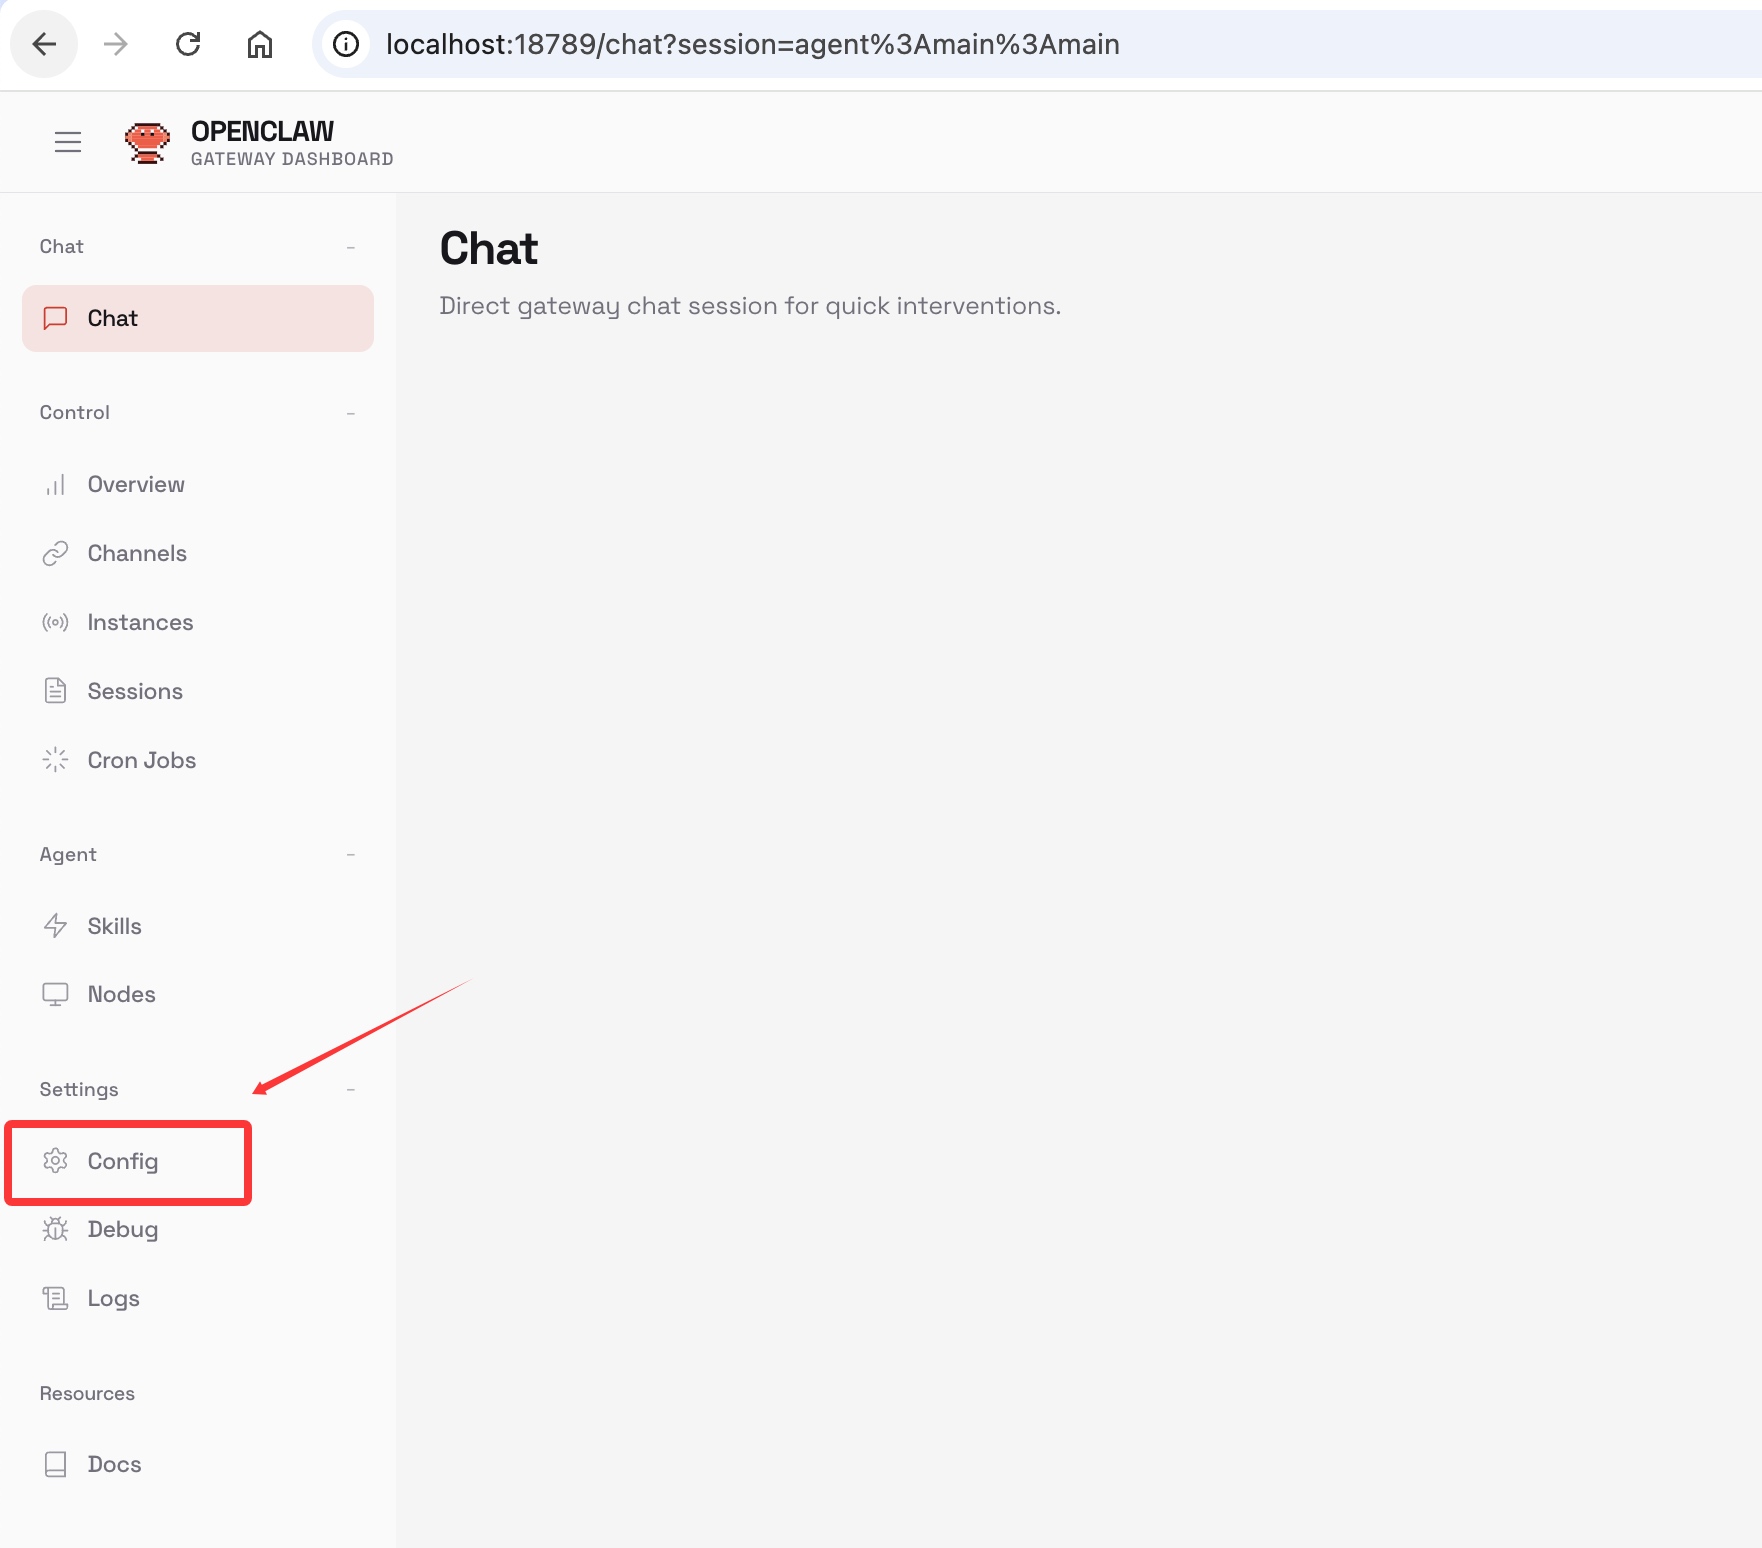
Access Config Page
Find the Config entry in WebUI:
Add Provider
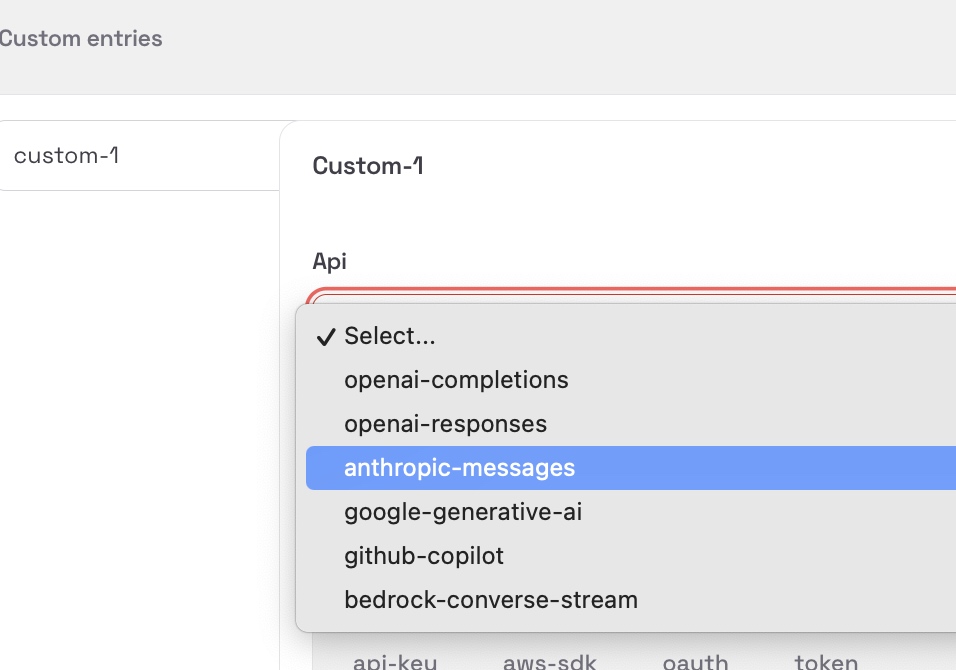
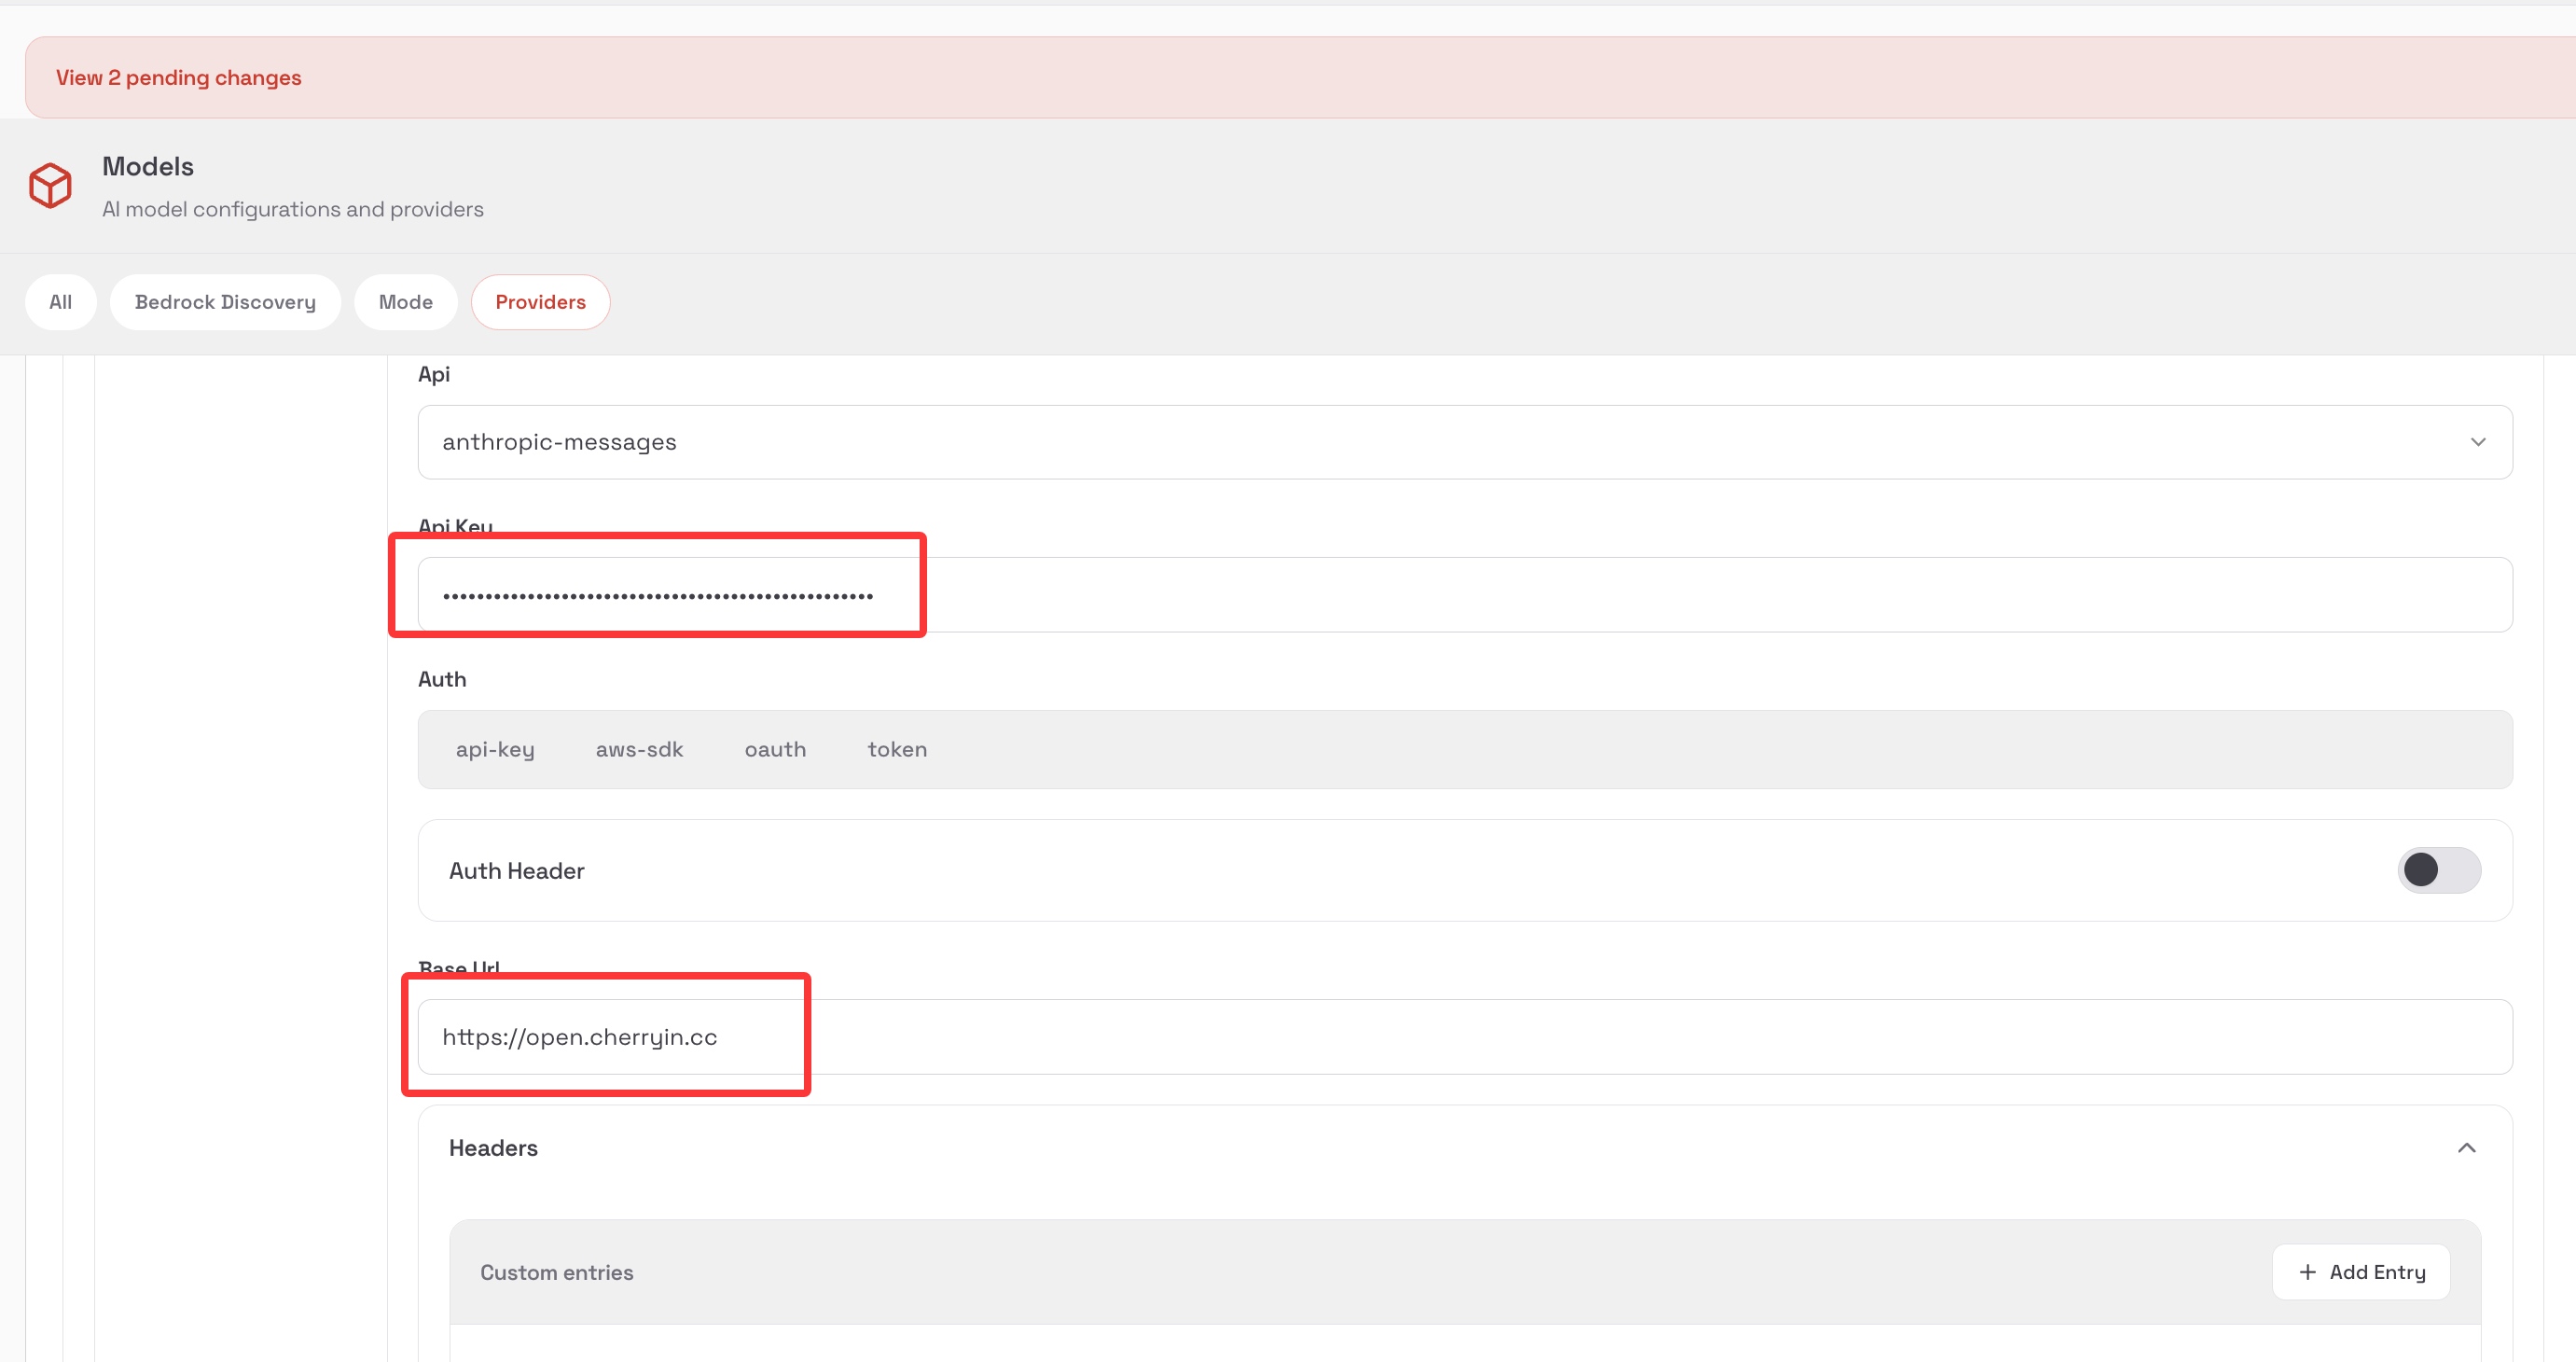
Configure the Provider in Config:
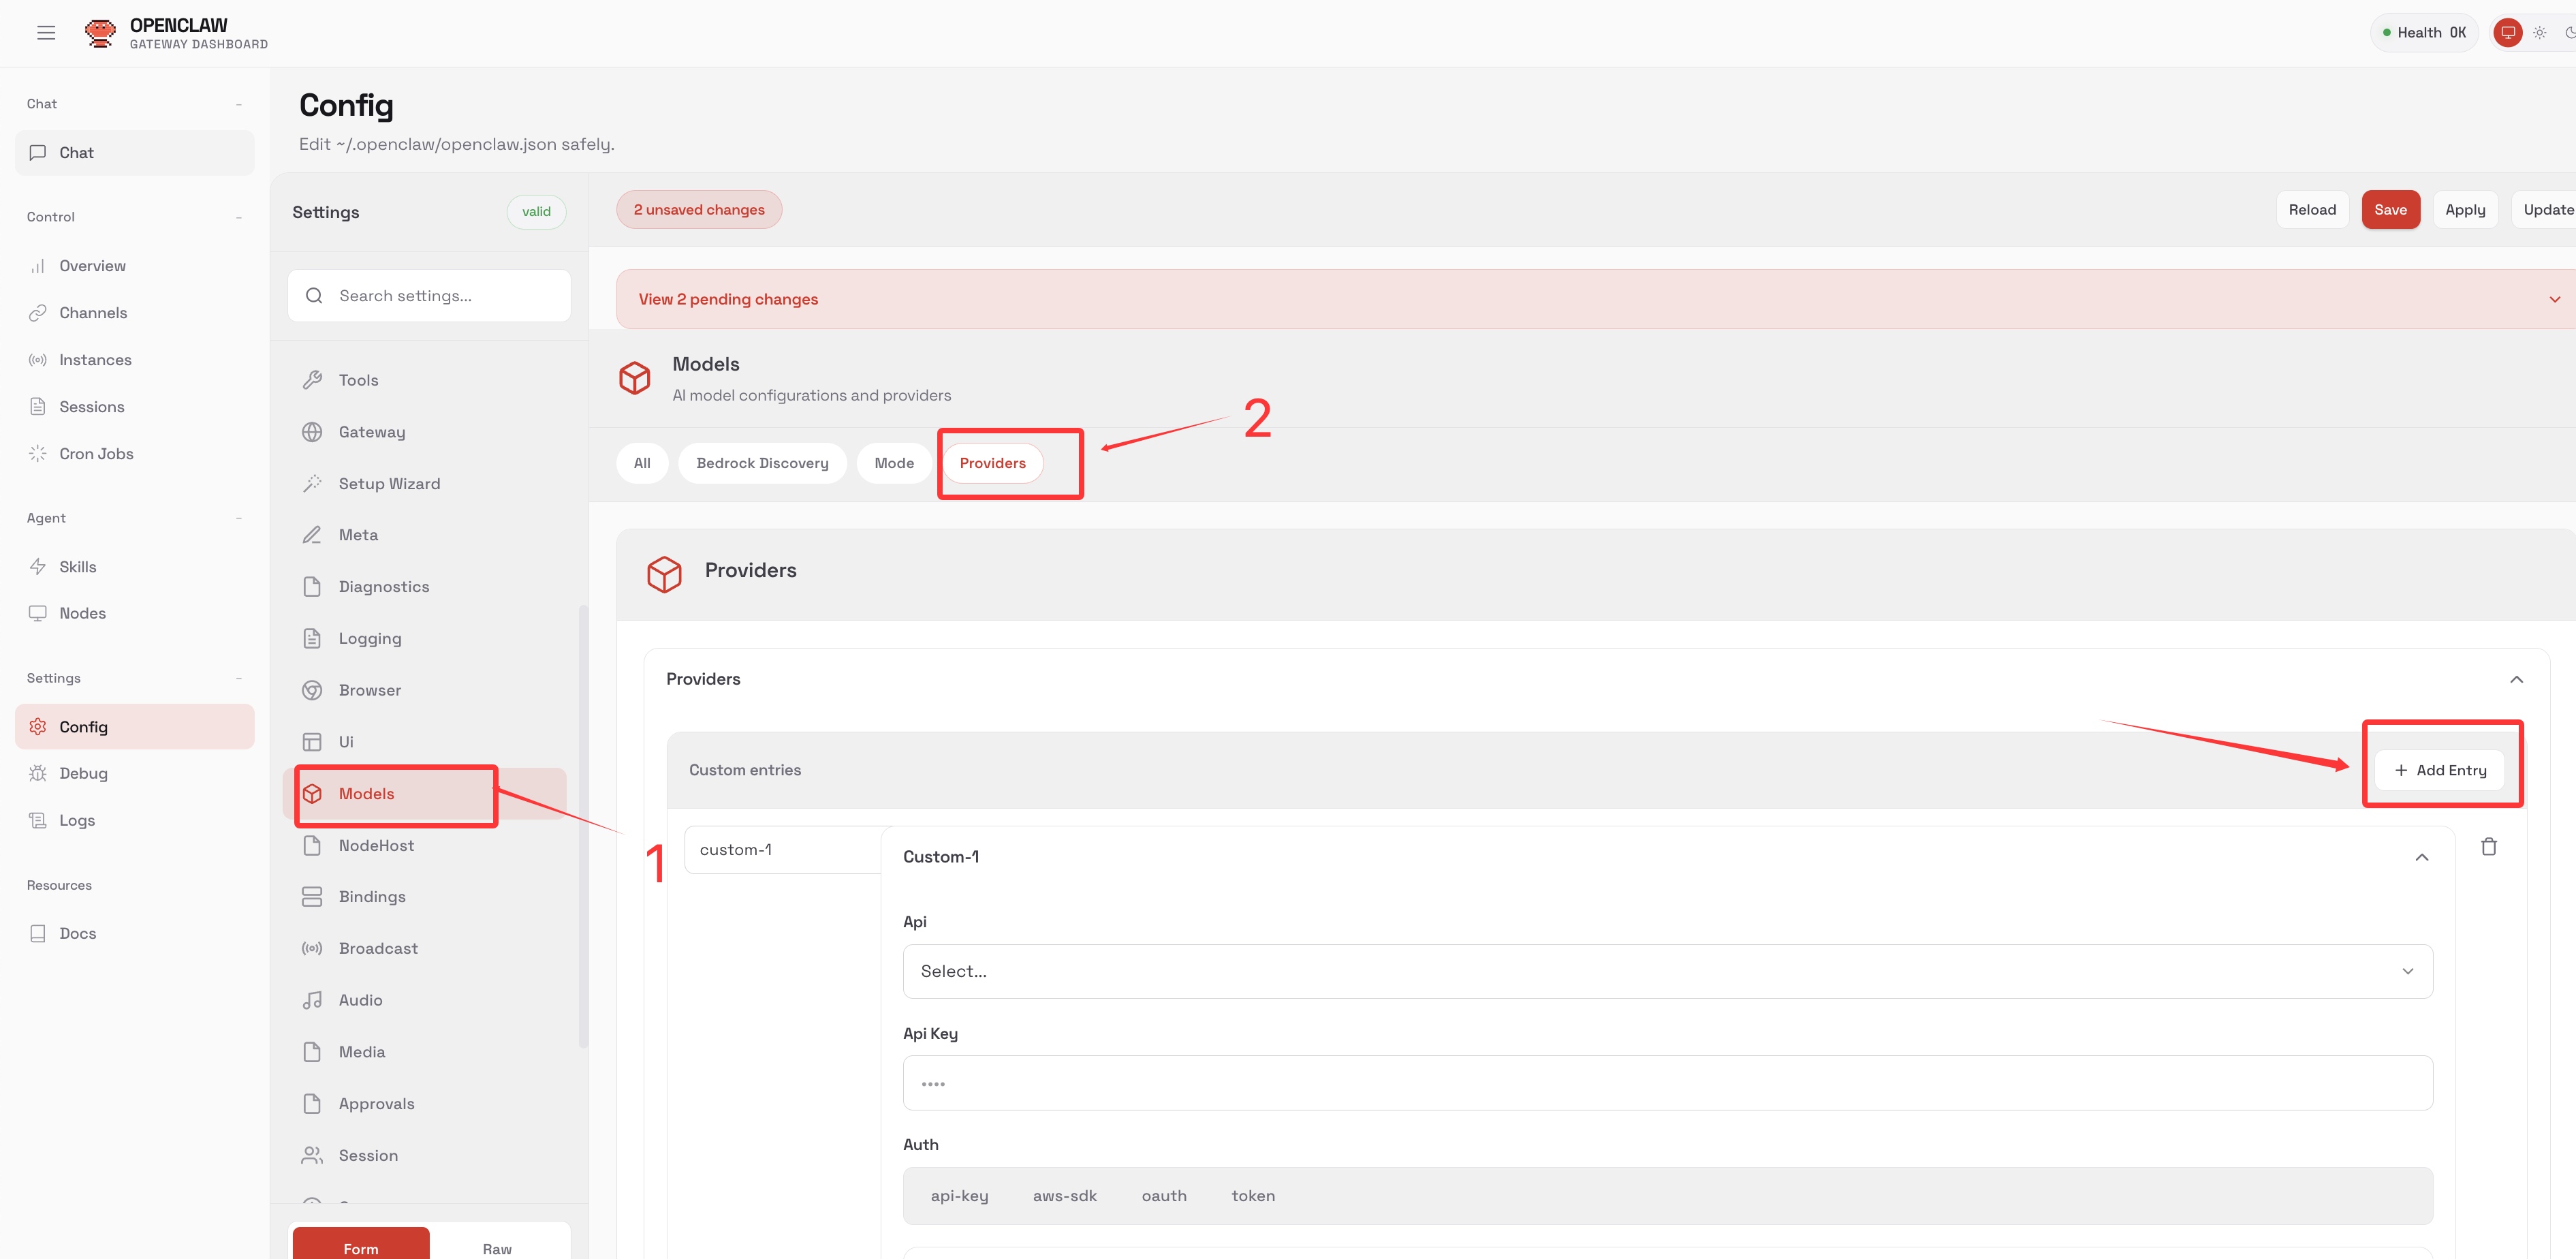
Switch endpoint / API KEY for the provider:
Important
For WebUI chat, make sure to switch to models that support openai-completions!
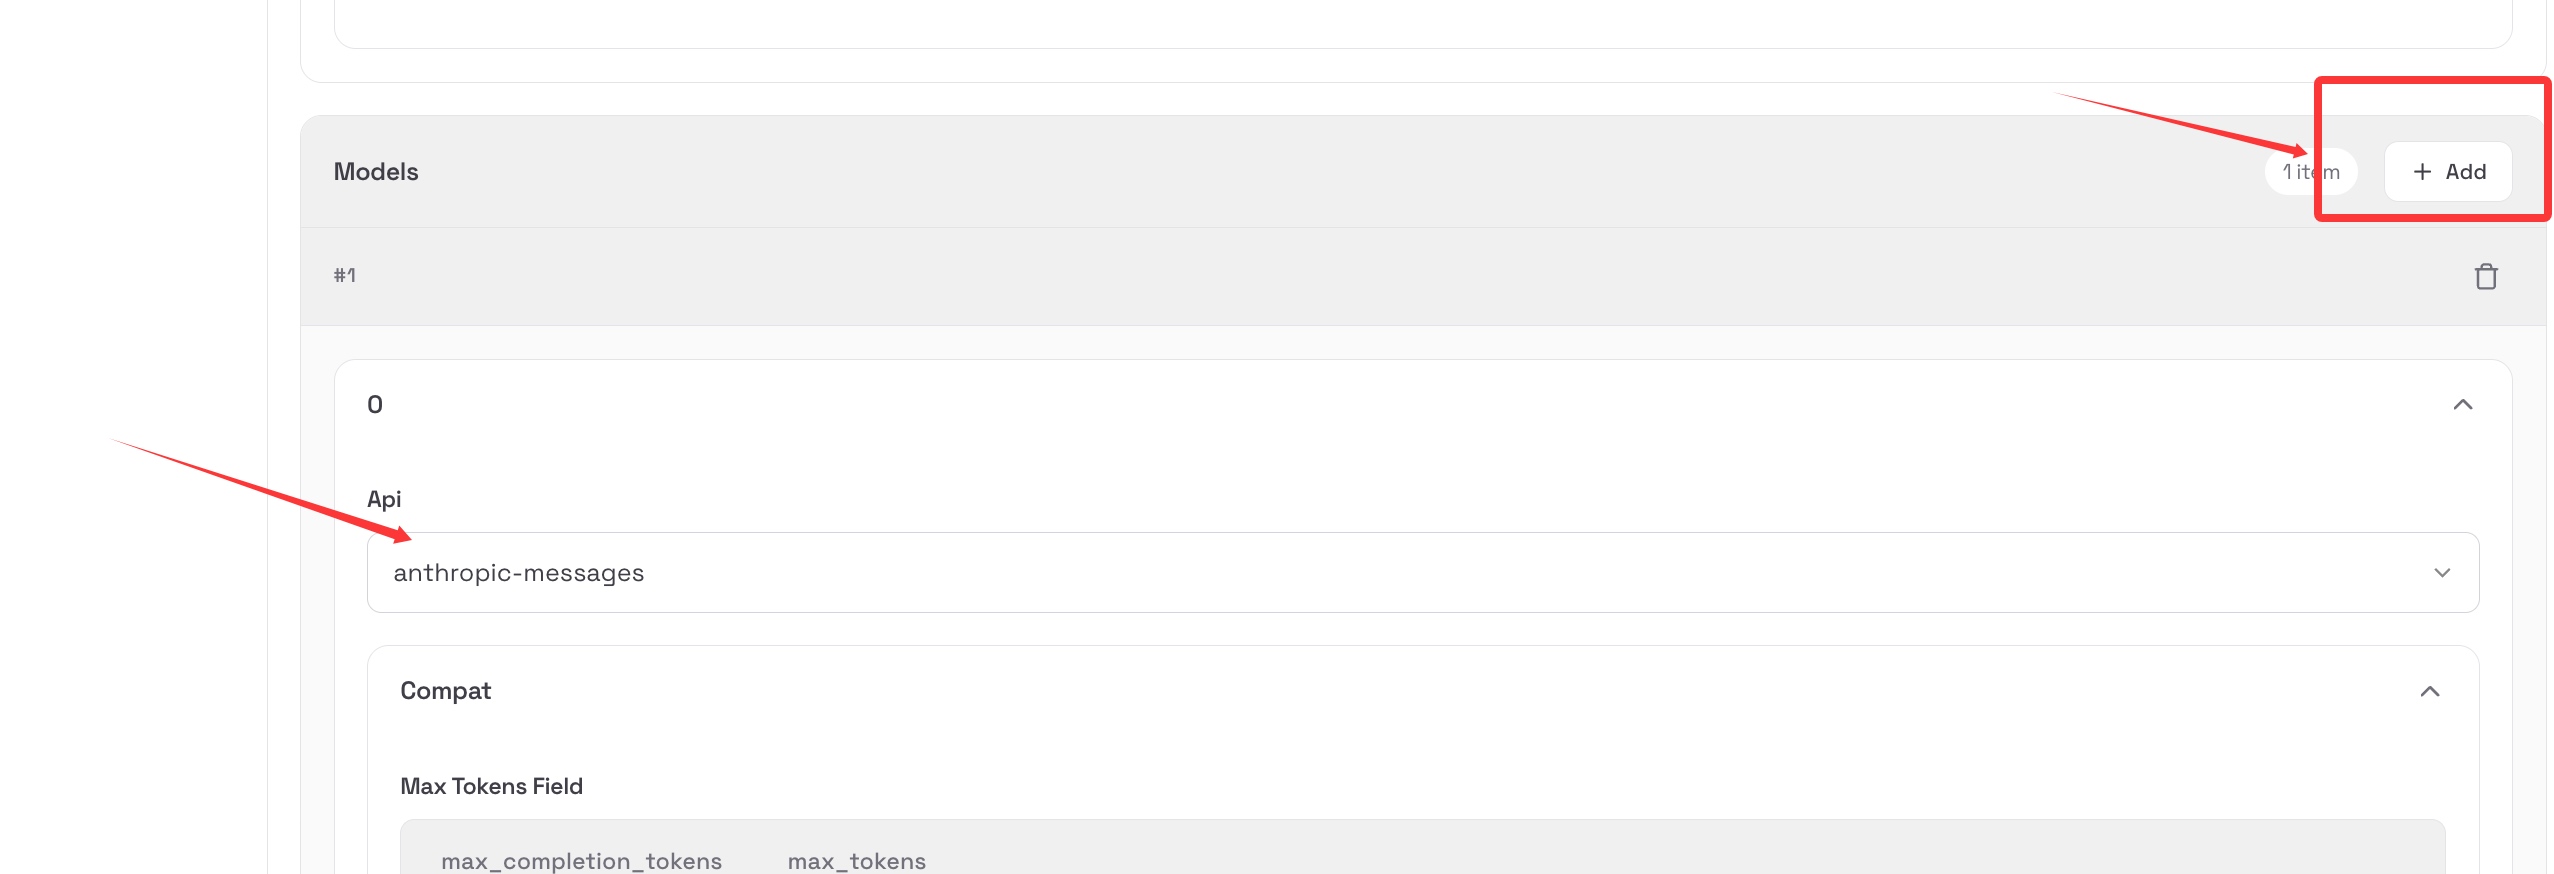
Add Model
Create a new model:
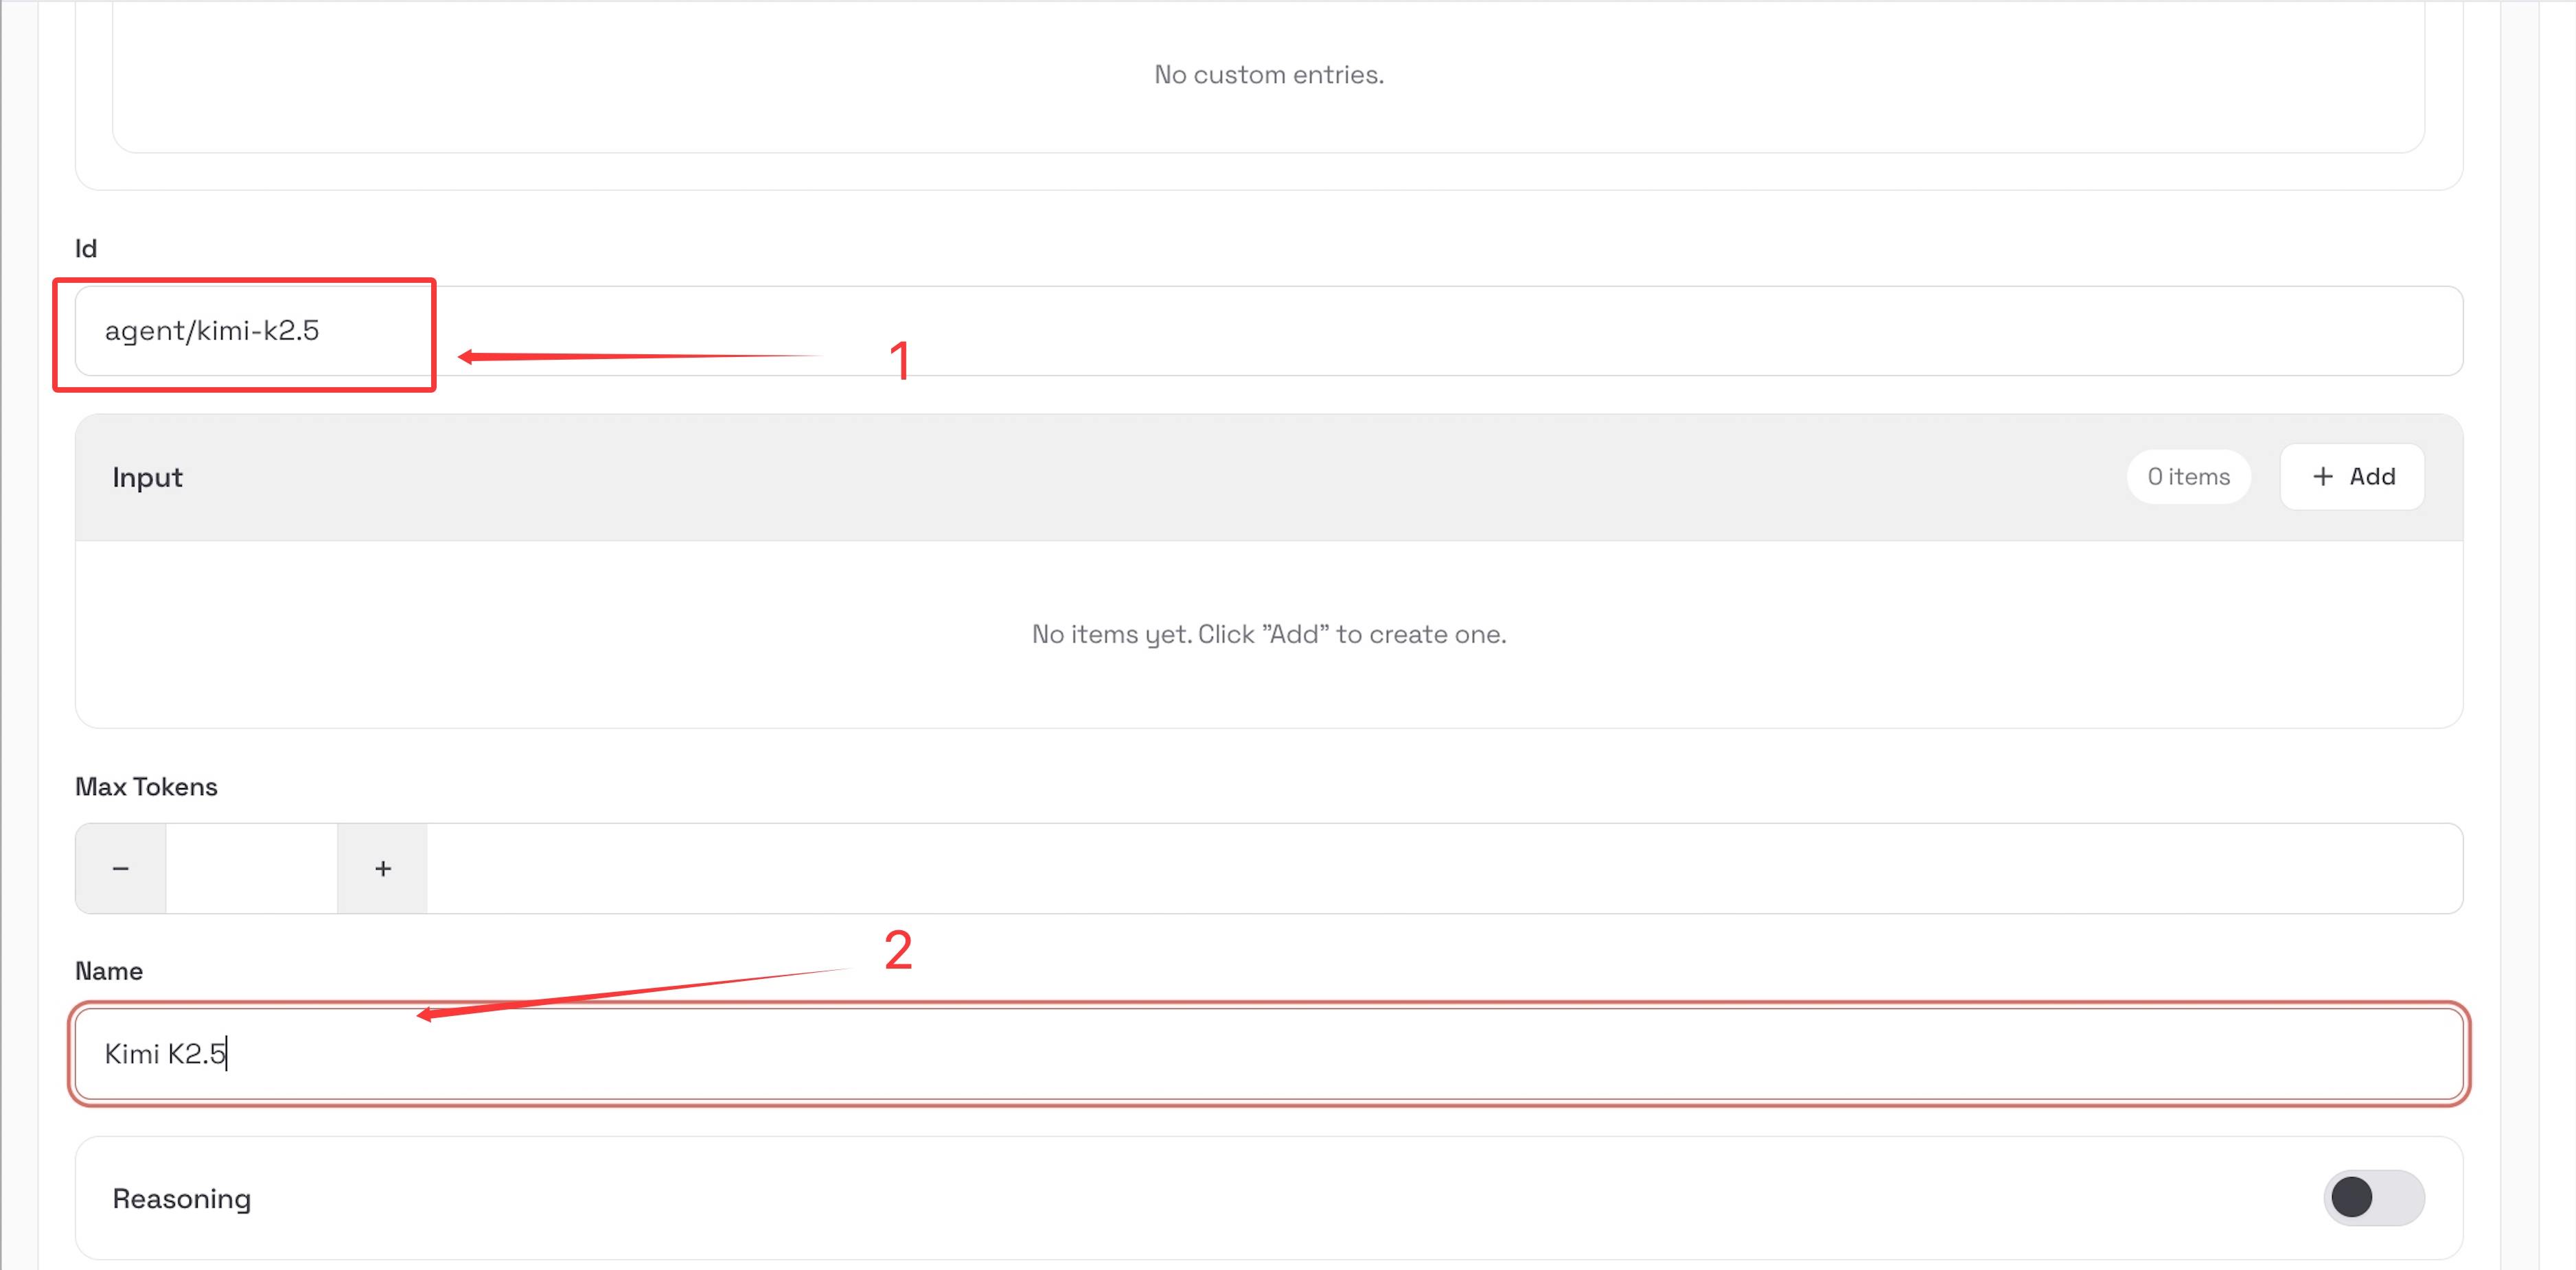
Get model IDs from CherryIN Pricing Page:
⚠️ Important Reminder
Make sure to click Save + Reload or the configuration won't take effect!